Cotton Marble Cake Recipe
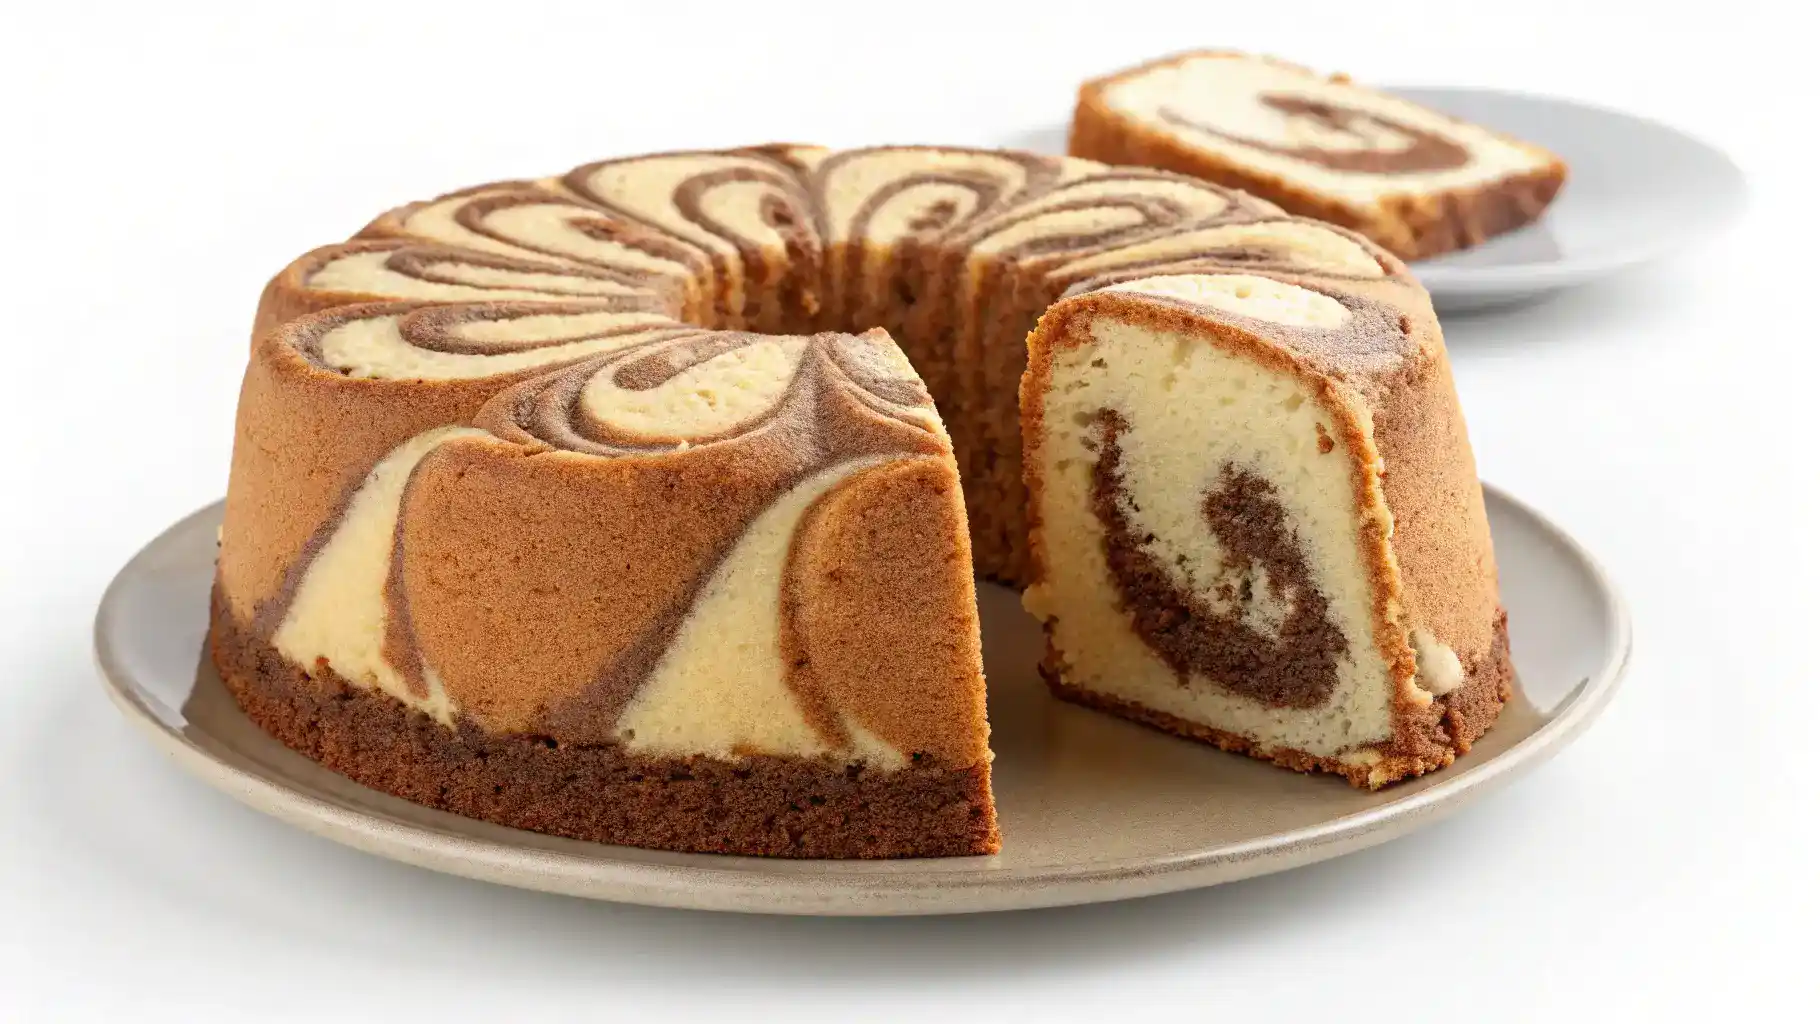
Get ready to indulge in a slice of heaven with this Cotton Marble Cake! It’s a delightful blend of fluffy vanilla and rich chocolate batters swirled together to create a stunning marbled effect. The best part? It’s super easy to whip up, making it perfect for any occasion. Just imagine the aroma wafting through your kitchen as it bakes! With simple ingredients like all-purpose flour, cocoa powder, and a splash of milk, you’ll have everyone asking for seconds. So grab your mixing bowl and let’s create some sweet memories together!
Why You’ll Love This Recipe
- Trust me, you’re going to love the fluffy texture!
- This one’s a game-changer for your dessert table.
- Perfect for any occasion—birthdays, picnics, or just because!
- Easy to make with simple ingredients you probably have at home.
- Kids and adults alike will be asking for seconds!
Recipe Snapshot
| Feature | Details |
|---|---|
| Category: | Dessert |
| Cuisine: | American |
| Prep Time: | 20 minutes |
| Cook Time: | 30 minutes |
| Total Time: | 50 minutes |
| Dietary: | Vegetarian |
| Serves: | 8-10 |
| Best Served: | With tea or coffee |
Ingredients
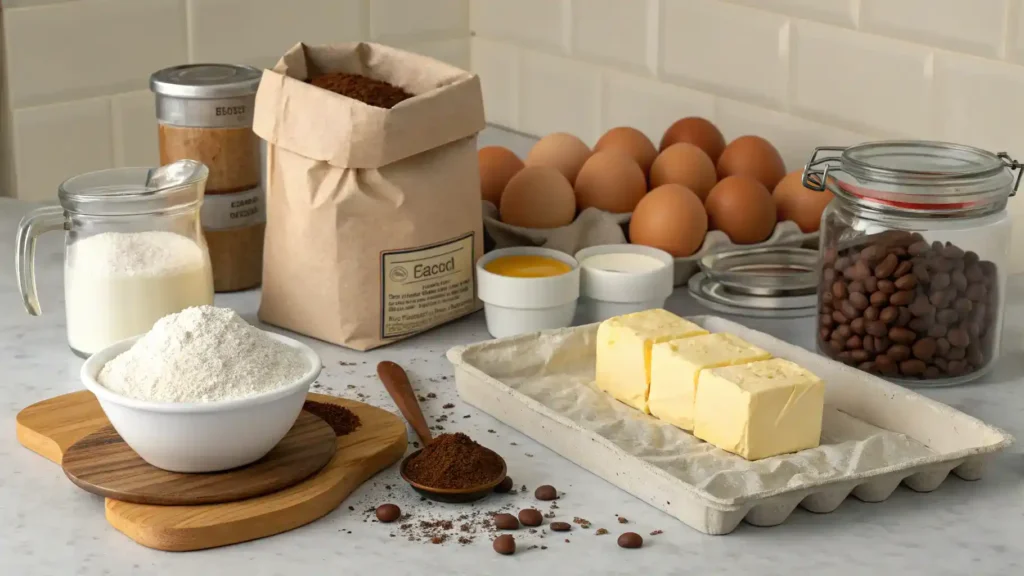
- All-purpose flour – a key ingredient for structure and texture.
- Baking powder – helps the cake rise and become fluffy.
- Salt – enhances the flavors of the other ingredients.
- Unsalted butter – adds richness and moisture to the cake.
- Granulated sugar – sweetens the cake and contributes to its texture.
- Eggs – bind the ingredients together and provide moisture.
- Vanilla extract – adds a lovely aroma and flavor.
- Milk – keeps the cake moist and helps with mixing.
- Cocoa powder – gives the chocolate flavor for the marble effect.
- Vegetable oil – adds moisture and keeps the cake tender.
Ingredients with measurements will be right under the article in the recipe card.
How to Make the Recipe
Get ready to create a delightful Cotton Marble Cake that will impress everyone!
Step 1: Gather Your Ingredients
Collect all your ingredients: 1 cup all-purpose flour, 1 cup sugar, 1/2 cup unsalted butter, 2 eggs, 1/2 cup milk, 2 tsp baking powder, 1 tsp vanilla extract, 1/4 cup cocoa powder, and a pinch of salt.
Step 2: Preheat the Oven
Preheat your oven to 350°F (175°C) to ensure it’s nice and hot when your batter is ready.
Step 3: Cream the Butter and Sugar
In a mixing bowl, cream together the softened butter and sugar until it’s light and fluffy. This will take about 3-5 minutes.
Step 4: Add the Eggs and Vanilla
Beat in the eggs one at a time, followed by the vanilla extract. Mix until well combined.
Step 5: Combine Dry Ingredients
In a separate bowl, whisk together the flour, baking powder, and salt. This helps to evenly distribute the leavening agent.
Step 6: Mix Dry and Wet Ingredients
Gradually add the dry ingredients to the wet mixture, alternating with the milk. Mix until just combined; don’t overmix!
Step 7: Prepare the Cocoa Mixture
In a small bowl, mix the cocoa powder with a tablespoon of hot water to create a smooth paste.
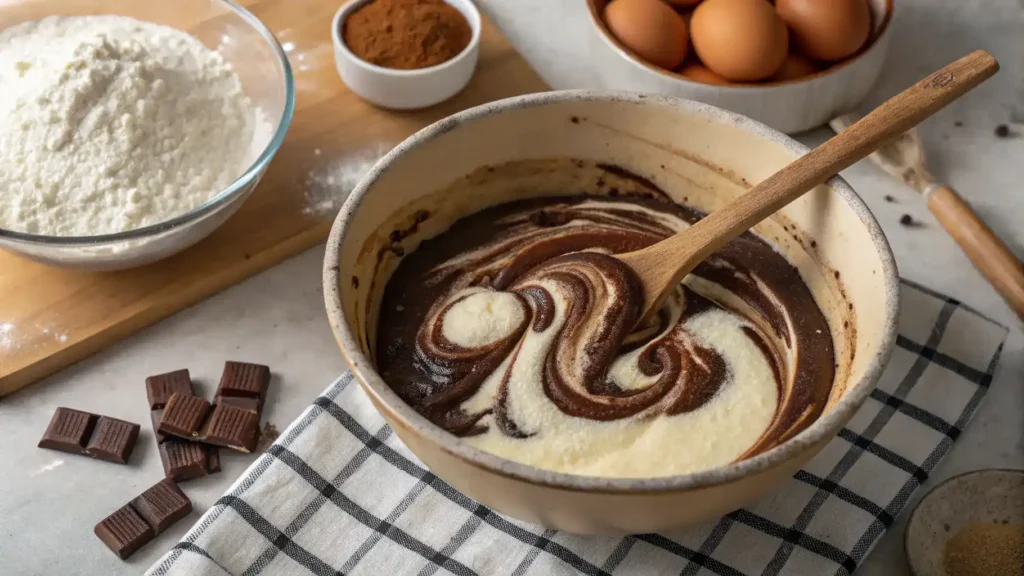
Step 8: Create the Marble Effect
Divide the batter into two bowls. Stir the cocoa mixture into one bowl. Now you have a vanilla batter and a chocolate batter!
Step 9: Layer the Batter
In a greased cake pan, spoon alternating dollops of vanilla and chocolate batter. Use a knife to swirl them together for a marbled effect.
Step 10: Bake the Cake
Place the cake in the preheated oven and bake for 30-35 minutes, or until a toothpick inserted in the center comes out clean.
Step 11: Cool and Serve
Let the cake cool in the pan for 10 minutes, then transfer it to a wire rack to cool completely. Slice and enjoy your delicious Cotton Marble Cake!
Pro Tips for Making the Recipe
- Use room temperature ingredients for a smoother batter.
- Gently fold the cocoa mixture into the vanilla batter for beautiful swirls.
- Don’t overmix; a few lumps are perfectly fine for a light texture.
- For extra flavor, add a splash of vanilla extract to the cocoa mix.
- Let the cake cool completely before slicing for cleaner cuts.
How to Serve
Enjoy your Cotton Marble Cake with these fun serving suggestions!
- Top with a dollop of whipped cream for extra fluffiness.
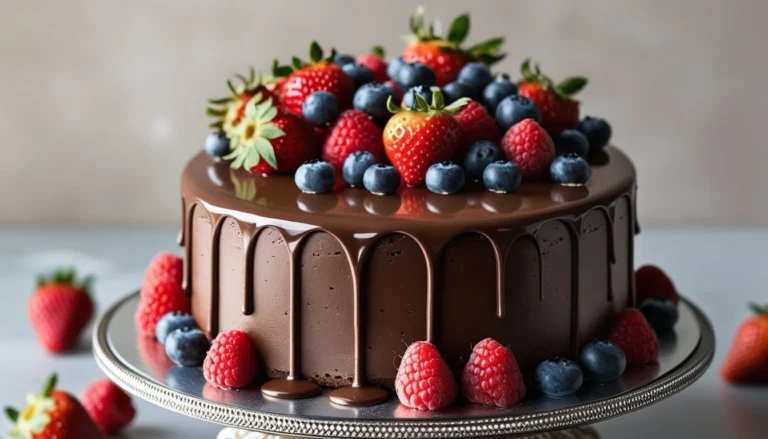
- Serve alongside fresh berries for a burst of flavor.
- Pair with a scoop of vanilla ice cream for a delightful contrast.
- Drizzle with chocolate or caramel sauce for a sweet touch.
- Dust with powdered sugar for a simple, elegant finish.
- Enjoy with a cup of coffee or tea for a cozy afternoon treat.
- Slice and serve at parties for a colorful dessert option.
Make Ahead and Storage
Storing Leftovers
To keep your Cotton Marble Cake fresh:
- Allow the cake to cool completely.
- Wrap it tightly in plastic wrap.
- Place it in an airtight container.
- Store it at room temperature for up to 3 days.
- For longer storage, refrigerate it.
Freezing
To freeze your cake without losing quality:
- Wrap individual slices in plastic wrap.
- Place wrapped slices in a freezer-safe bag.
- Label the bag with the date.
- Freeze for up to 3 months.
Reheating
For the best texture and taste when reheating:
- Thaw the cake in the refrigerator overnight.
- Preheat your oven to 350°F (175°C).
- Wrap the cake in foil to prevent drying.
- Heat for about 10-15 minutes.
- Enjoy warm for a delightful experience!
FAQs
What can I substitute for eggs in the Cotton Marble Cake Recipe?
If you’re looking for an egg substitute, you can use unsweetened applesauce, mashed bananas, or even yogurt. Each of these options will help bind the ingredients while adding a touch of moisture to your cake.
How can I make my marble cake more chocolatey?
To enhance the chocolate flavor in your marble cake, consider adding a bit more cocoa powder to the chocolate batter. You can also mix in some chocolate chips for an extra chocolatey surprise in every bite!
Can I use whole wheat flour instead of all-purpose flour?
Absolutely! Whole wheat flour can be used as a healthier alternative. Just keep in mind that it may change the texture slightly, making it denser, so you might want to add a little extra liquid to compensate.
How do I store leftover Cotton Marble Cake?
To keep your cake fresh, store it in an airtight container at room temperature for up to three days. If you want to keep it longer, consider refrigerating it or freezing individual slices for later enjoyment!
Cotton Marble Cake Recipe
Ingredients
Equipment
Method
- Get ready to create a delightful Cotton Marble Cake that will impress everyone!
- Collect all your ingredients: 1 cup all-purpose flour, 1 cup sugar, 1/2 cup unsalted butter, 2 eggs, 1/2 cup milk, 2 tsp baking powder, 1 tsp vanilla extract, 1/4 cup cocoa powder, and a pinch of salt.
- Preheat your oven to 350°F (175°C) to ensure it’s nice and hot when your batter is ready.
- In a mixing bowl, cream together the softened butter and sugar until it’s light and fluffy. This will take about 3-5 minutes.
- Beat in the eggs one at a time, followed by the vanilla extract. Mix until well combined.
- In a separate bowl, whisk together the flour, baking powder, and salt. This helps to evenly distribute the leavening agent.
- Gradually add the dry ingredients to the wet mixture, alternating with the milk. Mix until just combined; don’t overmix!
- In a small bowl, mix the cocoa powder with a tablespoon of hot water to create a smooth paste.
- Divide the batter into two bowls. Stir the cocoa mixture into one bowl. Now you have a vanilla batter and a chocolate batter!
- In a greased cake pan, spoon alternating dollops of vanilla and chocolate batter. Use a knife to swirl them together for a marbled effect.
- Place the cake in the preheated oven and bake for 30-35 minutes, or until a toothpick inserted in the center comes out clean.
- Let the cake cool in the pan for 10 minutes, then transfer it to a wire rack to cool completely. Slice and enjoy your delicious Cotton Marble Cake!
Final Thoughts
There you have it, your very own Cotton Marble Cake! This delightful treat is not just a feast for the eyes but also a joy to make. So, gather your loved ones, whip up this simple recipe, and indulge in the sweet, nostalgic flavors. Remember, baking is all about love and fun—enjoy every bite and create beautiful memories along the way. Happy baking!
Hungry for more delicious creations? Browse our site for more recipes and endless inspiration to spark your next culinary adventure!