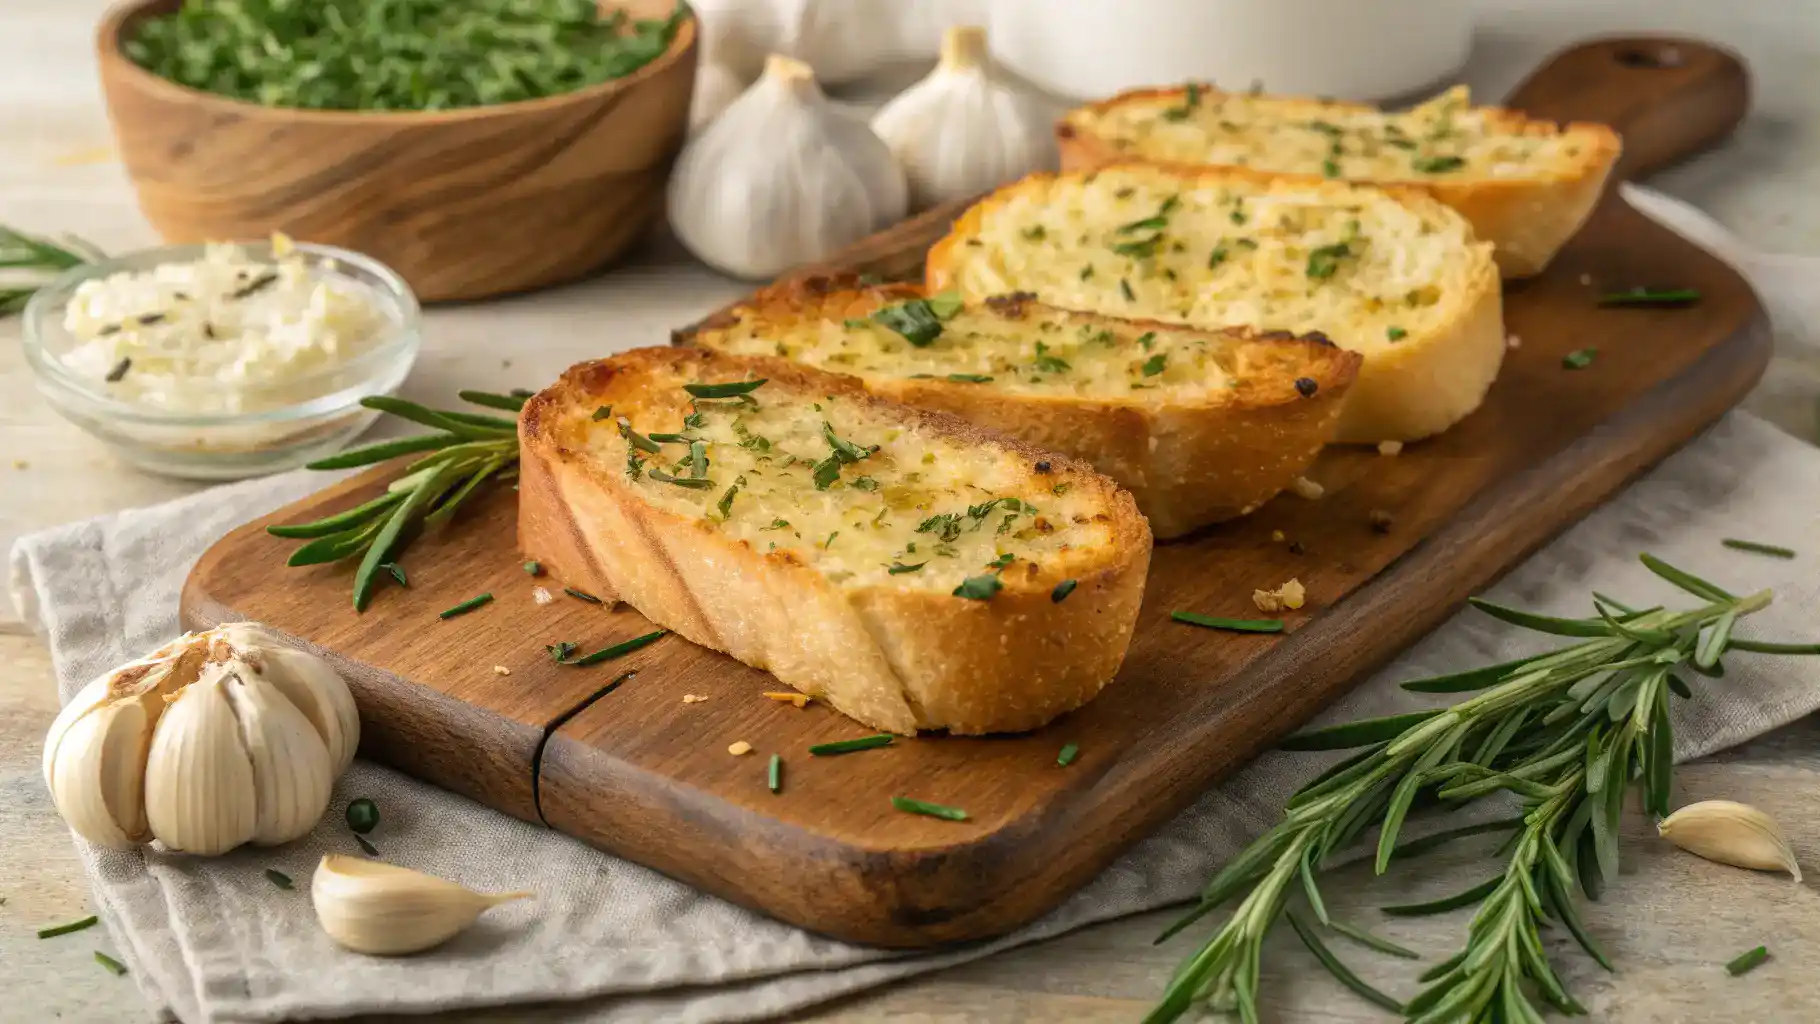
Frozen Garlic Bread: The Ultimate Easy Recipe for Deliciousness!
Ready to elevate your snack game? This frozen garlic bread recipe is a total game-changer! With just a few simple ingredients like buttery spread, minced garlic, and a sprinkle of parsley, you’ll whip up a batch that’s bursting with flavor. Just pop it in the oven, and in no time, your kitchen will be filled with that irresistible aroma. Perfect for pairing with pasta, soups, or just enjoying on its own, this garlic bread is the cozy comfort food you didn’t know you needed. Let’s dig in!
Why You’ll Love This Recipe
- Trust me, you’re going to love how quick and easy it is!
- This one’s a game-changer for busy weeknights.
- Perfectly crispy on the outside and soft on the inside.
- Customize with your favorite herbs for a personal touch!
- Great for parties or cozy nights in—everyone will ask for seconds!
Recipe Snapshot
| Feature | Details |
|---|---|
| Category: | Appetizer |
| Cuisine: | Italian |
| Prep Time: | 5 minutes |
| Cook Time: | 15 minutes |
| Total Time: | 20 minutes |
| Dietary: | Vegetarian |
| Serves: | 4 |
| Best Served: | With pasta or salad |
Table of Contents
Ingredients
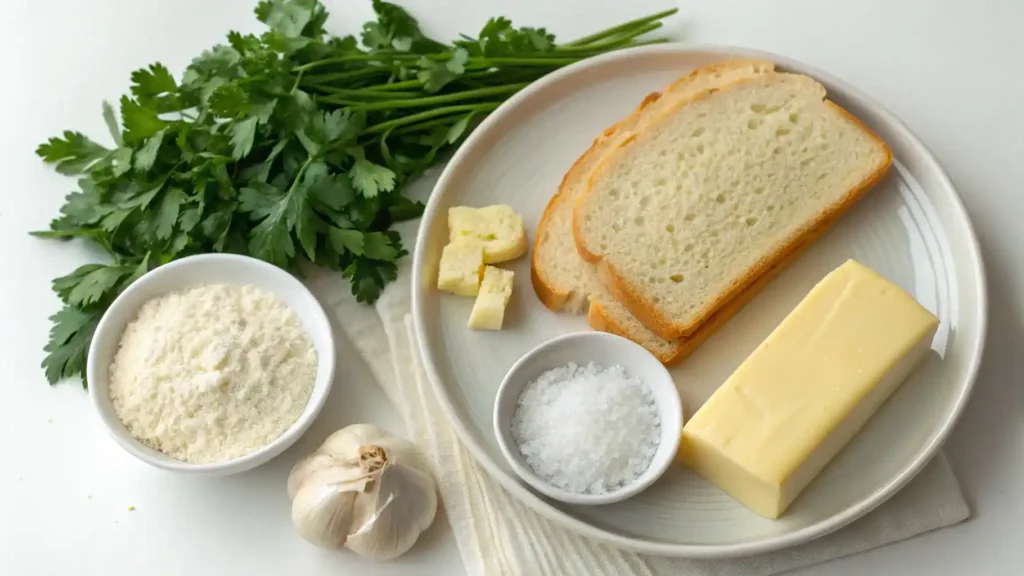
- Frozen Garlic Bread – a convenient base for your delicious garlic bread.
- Butter – adds richness and helps the garlic flavor shine.
- Garlic Powder – for that classic garlic taste; fresh garlic can also be used for a stronger flavor.
- Parsley – fresh or dried, it adds a pop of color and freshness.
- Salt – enhances all the flavors in your garlic bread.
- Cheese – optional, but a sprinkle of mozzarella or parmesan can take it to the next level.
Ingredients with measurements will be right under the article in the recipe card.
How to Make the Recipe
Get ready to enjoy some scrumptious frozen garlic bread with these easy steps!
Step 1: Gather Your Ingredients
Collect frozen garlic bread, olive oil, and your favorite herbs.
Step 2: Preheat Your Oven
Set your oven to 400°F (200°C) to get it nice and hot.
Step 3: Prepare the Baking Sheet
Line a baking sheet with parchment paper for easy cleanup.
Step 4: Arrange the Garlic Bread
Place the frozen garlic bread slices on the baking sheet, leaving space between them.
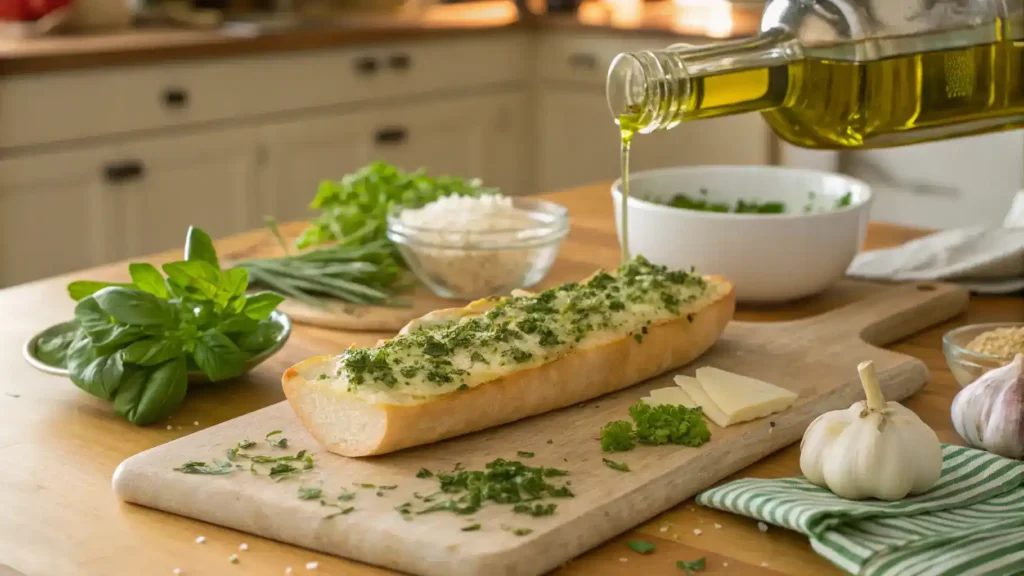
Step 5: Add a Flavor Boost
Drizzle a little olive oil over the bread and sprinkle with herbs if you like.
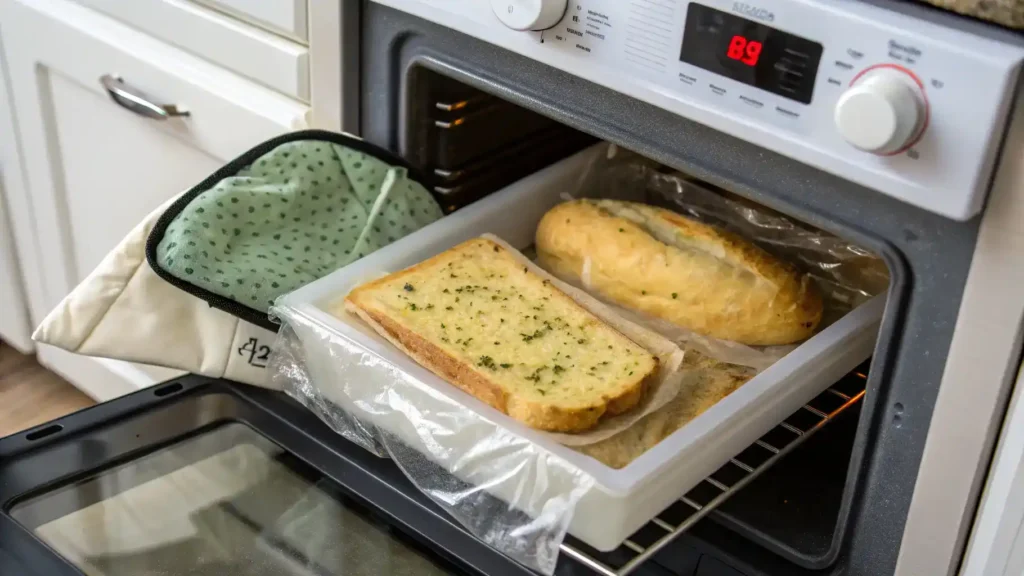
Step 6: Bake to Perfection
Pop the baking sheet in the oven and bake for 10-12 minutes until golden brown.
Step 7: Enjoy the Aroma
As it bakes, enjoy the delicious garlic aroma filling your kitchen!
Step 8: Serve and Savor
Once done, take it out, let it cool slightly, and serve warm. Enjoy every bite!
Pro Tips for Making the Recipe
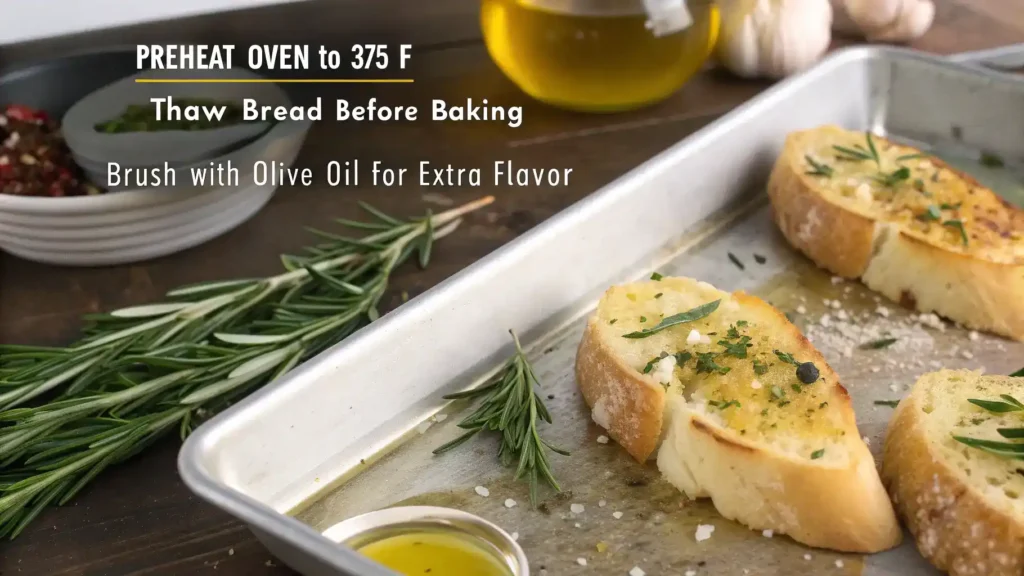
- Thaw your frozen garlic bread in the fridge overnight for even baking.
- Brush a little olive oil on top before baking for extra crispiness.
- Sprinkle some grated Parmesan cheese for a delightful flavor boost.
- Serve with fresh herbs like parsley or basil for a pop of color and taste.
- Pair with a side of marinara sauce for dipping to elevate your meal.
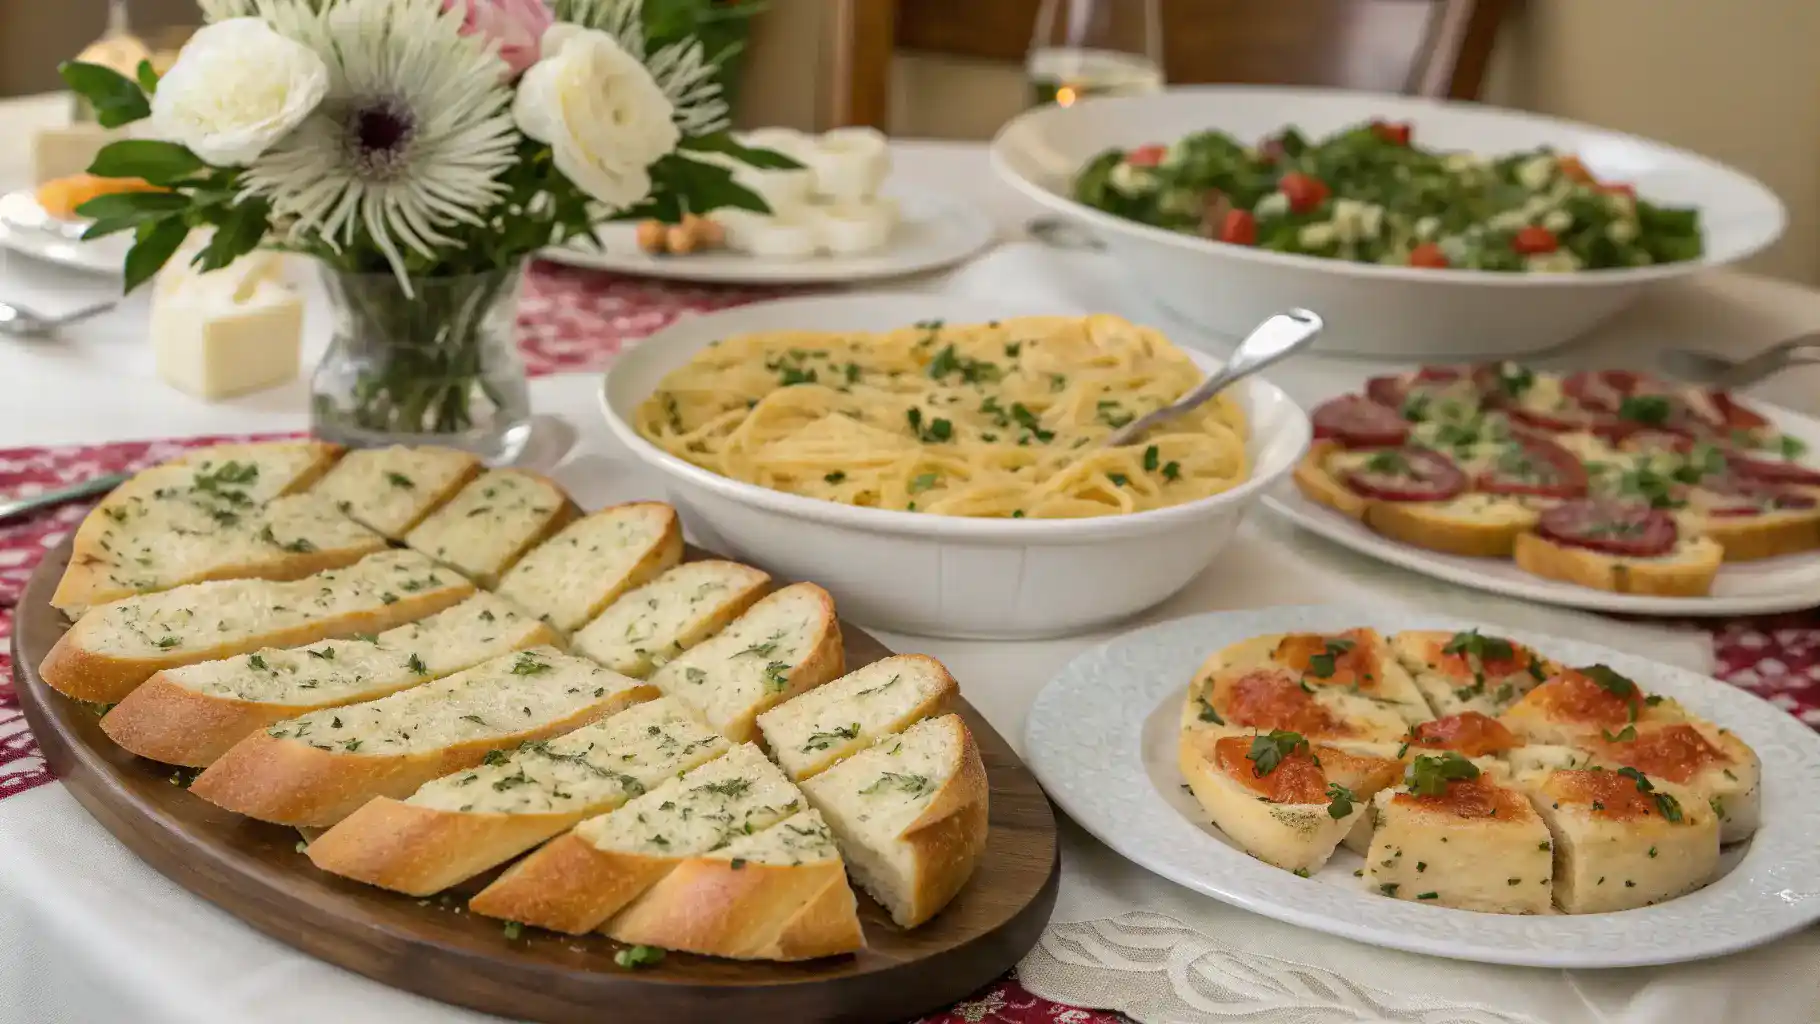
How to Serve

Here are some fun and delicious ways to enjoy your frozen garlic bread:
- Pair it with a fresh garden salad for a light meal.
- Serve alongside your favorite pasta dish for a classic combo.
- Top with melted cheese and herbs for a cheesy garlic delight.
- Use it as a base for mini pizzas with your favorite toppings.
- Enjoy it with a warm bowl of soup for a comforting dinner.
- Slice it into strips for easy dipping in marinara sauce.
- Make a garlic bread sandwich with fresh veggies and spreads.
- Serve it as an appetizer with a side of pesto or hummus.
Make Ahead and Storage
Storing Leftovers
To keep your frozen garlic bread fresh:
- Allow it to cool completely before storing.
- Wrap it tightly in plastic wrap or aluminum foil.
- Place it in an airtight container or a resealable plastic bag.
- Label with the date for easy tracking.
Freezing
For optimal freezing:
- Slice the garlic bread before freezing for easy portions.
- Wrap each piece individually in plastic wrap.
- Place wrapped pieces in a freezer-safe bag or container.
- Remove as much air as possible to prevent freezer burn.
Reheating
To enjoy your garlic bread at its best:
- Preheat your oven to 375°F (190°C).
- Place the bread on a baking sheet.
- Cover with foil to retain moisture.
- Bake for 10-15 minutes, then uncover for a crispy finish.
FAQs
Can I bake frozen garlic bread without thawing it first?
Absolutely! You can bake frozen garlic bread directly from the freezer. Just follow the package instructions or adjust the baking time slightly if needed. This makes it super convenient for last-minute meals!
How do I make my frozen garlic bread extra crispy?
For an extra crispy texture, try placing the garlic bread directly on the oven rack instead of a baking sheet. You can also broil it for the last minute or two, but keep a close eye to prevent burning!
Can I add toppings to my frozen garlic bread?
Definitely! Feel free to sprinkle some cheese, herbs, or even diced tomatoes on top before baking. This can elevate the flavor and make your garlic bread even more delicious!
How should I store leftover garlic bread?
If you have any leftovers, wrap them tightly in foil or plastic wrap and store them in the fridge. They can also be frozen again for later use. Just reheat in the oven for the best results!
frozen garlic bread
Ingredients
Equipment
Method
- Step 1: Gather Your Ingredients – Collect frozen garlic bread, olive oil, and your favorite herbs.
- Step 2: Preheat Your Oven – Set your oven to 400°F (200°C) to get it nice and hot.
- Step 3: Prepare the Baking Sheet – Line a baking sheet with parchment paper for easy cleanup.
- Step 4: Arrange the Garlic Bread – Place the frozen garlic bread slices on the baking sheet, leaving space between them.
- Step 5: Add a Flavor Boost – Drizzle a little olive oil over the bread and sprinkle with herbs if you like.
- Step 6: Bake to Perfection – Pop the baking sheet in the oven and bake for 10-12 minutes until golden brown.
- Step 7: Enjoy the Aroma – As it bakes, enjoy the delicious garlic aroma filling your kitchen!
- Step 8: Serve and Savor – Once done, take it out, let it cool slightly, and serve warm. Enjoy every bite!
Final Thoughts
There you have it—your new go-to recipe for frozen garlic bread! It’s as easy as pie and oh-so-delicious. Picture yourself pulling a warm, buttery loaf from the oven, the aroma wrapping around you like a cozy hug. So, gather your loved ones, whip up this delightful dish, and enjoy every bite. Trust me, once you try it, you’ll be hooked!
Hungry for more delicious creations? Browse our site for more recipes and endless inspiration to spark your next culinary adventure!