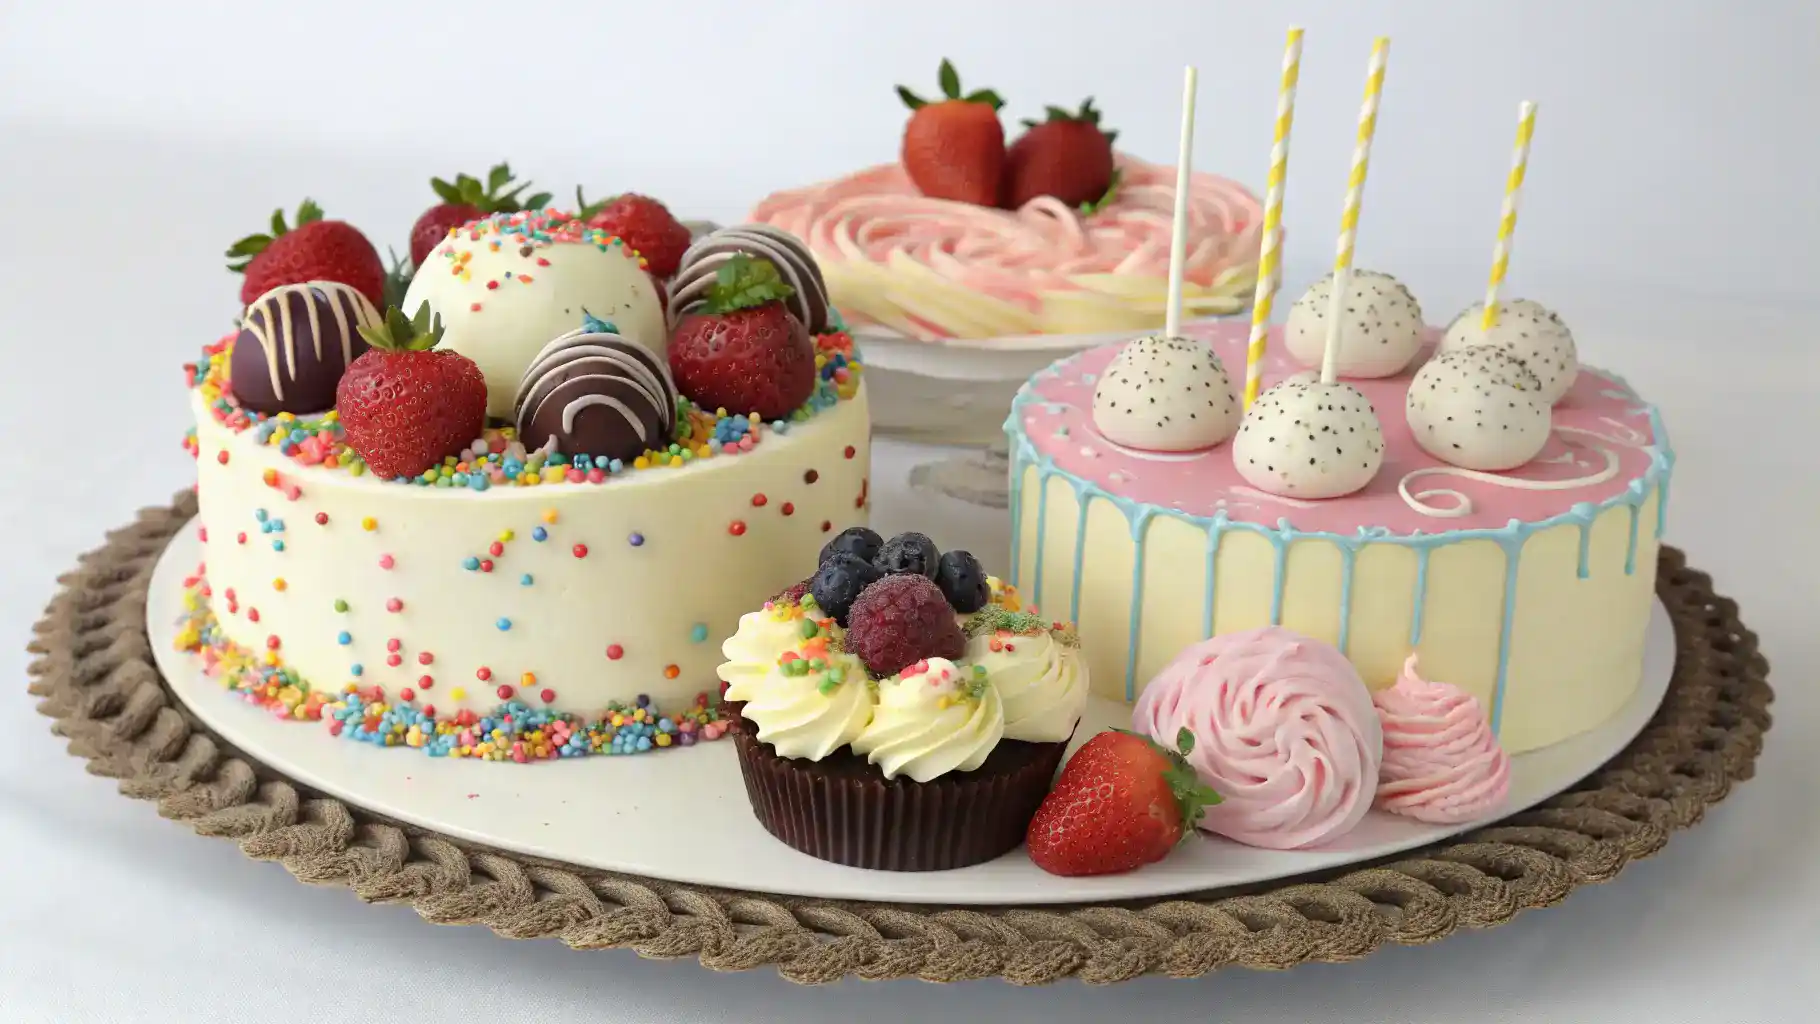
Cake and Pops: The Ultimate Delight for Every Celebration!
Cake and pops are the perfect treat to elevate any gathering, bringing joy and sweetness to every bite! Imagine moist, fluffy cake blended with creamy frosting, all rolled into delightful bite-sized balls, then dipped in vibrant chocolate or colorful candy melts. These little wonders can be customized with sprinkles, nuts, or even a drizzle of caramel for that extra flair. Whether it’s a birthday party, baby shower, or just a cozy afternoon at home, cake and pops are sure to make your taste buds dance and your heart smile!
Table of Contents
Why You’ll Love This Recipe
- These cake and pops are a fun twist on traditional desserts!
- Perfect for any celebration, big or small, they bring joy to every occasion.
- Easy to customize with your favorite flavors and colors, making them uniquely yours.
- They’re a hit with both kids and adults, ensuring everyone leaves with a smile.
- Simple to make, so you can whip them up in no time and impress your guests!

cake and pops
Ingredients
Equipment
Method
- Get ready to create some delightful cake and pops that will wow your guests!
- Collect your favorite cake mix, eggs, oil, and water. Don’t forget the frosting and lollipop sticks!
- Preheat your oven to 350°F (175°C). Mix the cake ingredients as per the package instructions. Pour into a greased pan and bake for 25-30 minutes.
- Once baked, let the cake cool completely on a wire rack. Patience is key here!
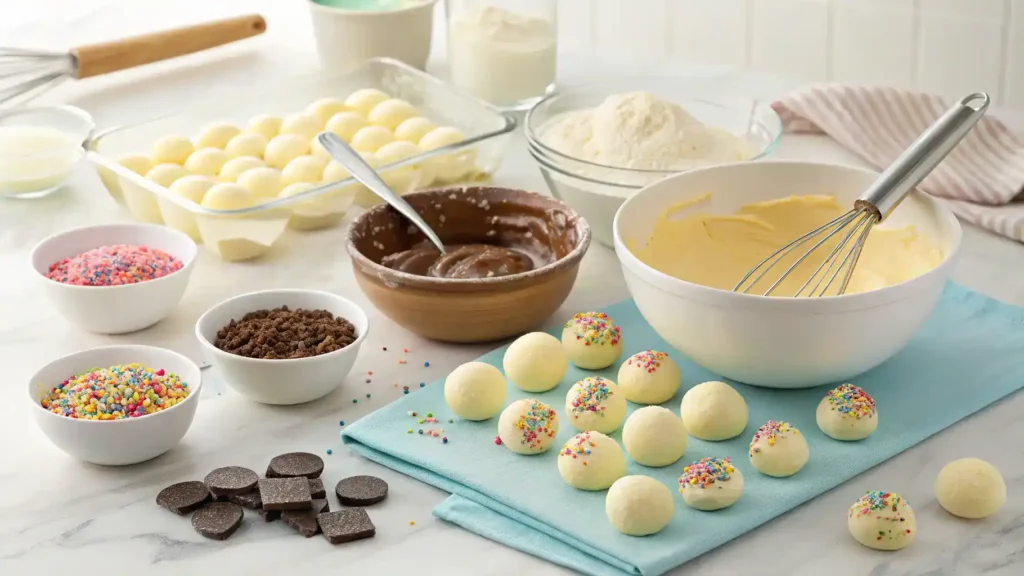
- Once cool, crumble the cake into a large bowl. Use your hands or a fork for this fun part!
- Add a few spoonfuls of frosting to the crumbled cake. Mix until it’s moist but not too sticky.
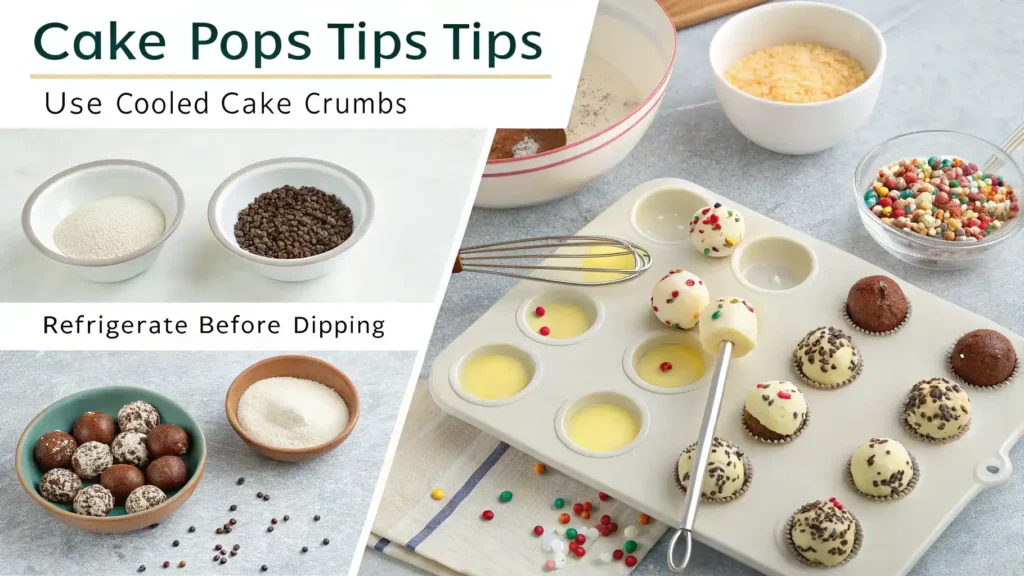
- Take small portions of the mixture and roll them into balls. Aim for about 1 inch in diameter.
- Dip the tip of each lollipop stick into melted chocolate, then insert it into the cake balls. This helps them stay put!
- Place the cake pops in the fridge for about 30 minutes to firm up. This makes coating easier!
- Melt your chocolate or candy melts. Dip each cake pop into the melted chocolate, covering it completely.
- While the chocolate is still wet, sprinkle on your favorite toppings like sprinkles or crushed nuts.
- Stand the cake pops upright in a styrofoam block or a cup to let the chocolate harden.
- Once set, your cake and pops are ready to be enjoyed! Share them at your celebration!
Recipe Snapshot
| Feature | Details |
|---|---|
| Category: | Dessert |
| Cuisine: | American |
| Prep Time: | 30 minutes |
| Cook Time: | 15 minutes |
| Total Time: | 45 minutes |
| Dietary: | Vegetarian |
| Serves: | 12 pops |
| Best Served: | Chilled |
Ingredients

- Cake flour – Provides a light and tender crumb for your cake.
- Sugar – Sweetens the cake and helps with browning.
- Baking powder – Acts as a leavening agent for a fluffy texture.
- Salt – Enhances the flavors of the other ingredients.
- Butter – Adds richness and moisture to the cake.
- Eggs – Binds the ingredients together and adds structure.
- Milk – Keeps the cake moist and adds flavor.
- Vanilla extract – Infuses a delightful aroma and taste.
- Chocolate chips – Adds a delicious surprise in every bite.
- Candy melts – Perfect for coating cake pops with vibrant colors.
- Sprinkles – Adds a fun and festive touch to your cake pops.
Ingredients with measurements will be right under the article in the recipe card.
How to Make the Recipe
Get ready to create some delightful cake and pops that will wow your guests!
Step 1: Gather Your Ingredients
Collect your favorite cake mix, eggs, oil, and water. Don’t forget the frosting and lollipop sticks!
Step 2: Bake the Cake
Preheat your oven to 350°F (175°C). Mix the cake ingredients as per the package instructions. Pour into a greased pan and bake for 25-30 minutes.
Step 3: Cool the Cake
Once baked, let the cake cool completely on a wire rack. Patience is key here!
Step 4: Crumble the Cake
Once cool, crumble the cake into a large bowl. Use your hands or a fork for this fun part!
Step 5: Mix in the Frosting
Add a few spoonfuls of frosting to the crumbled cake. Mix until it’s moist but not too sticky.
Step 6: Shape the Pops
Take small portions of the mixture and roll them into balls. Aim for about 1 inch in diameter.
Step 7: Insert the Sticks
Dip the tip of each lollipop stick into melted chocolate, then insert it into the cake balls. This helps them stay put!
Step 8: Chill the Pops
Place the cake pops in the fridge for about 30 minutes to firm up. This makes coating easier!
Step 9: Coat with Chocolate
Melt your chocolate or candy melts. Dip each cake pop into the melted chocolate, covering it completely.
Step 10: Decorate
While the chocolate is still wet, sprinkle on your favorite toppings like sprinkles or crushed nuts.
Step 11: Let Them Set
Stand the cake pops upright in a styrofoam block or a cup to let the chocolate harden.
Step 12: Enjoy!
Once set, your cake and pops are ready to be enjoyed! Share them at your celebration!
Pro Tips for Making the Recipe
•Use room temperature ingredients for a smoother batter.
•Experiment with different cake flavors to keep things exciting.
•Chill your pops before dipping to ensure a clean coating.
•Add sprinkles or toppings right after dipping for a fun finish.
•Store in an airtight container to keep them fresh longer.
How to Serve
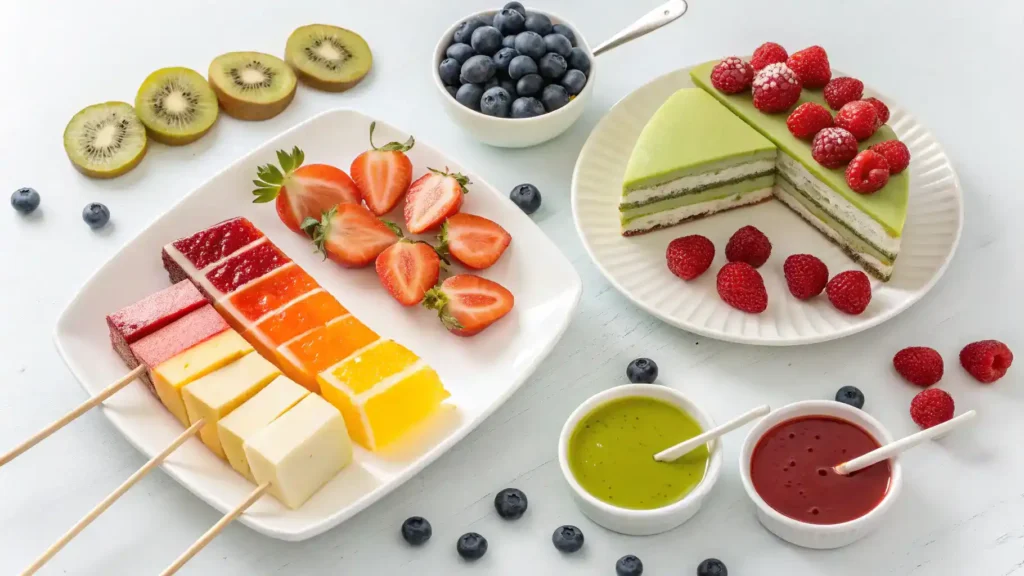
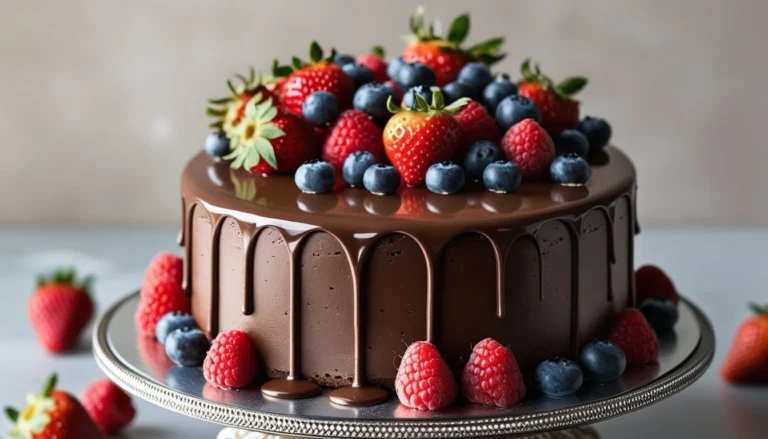
- Serve cake and pops on a colorful platter for a festive look.
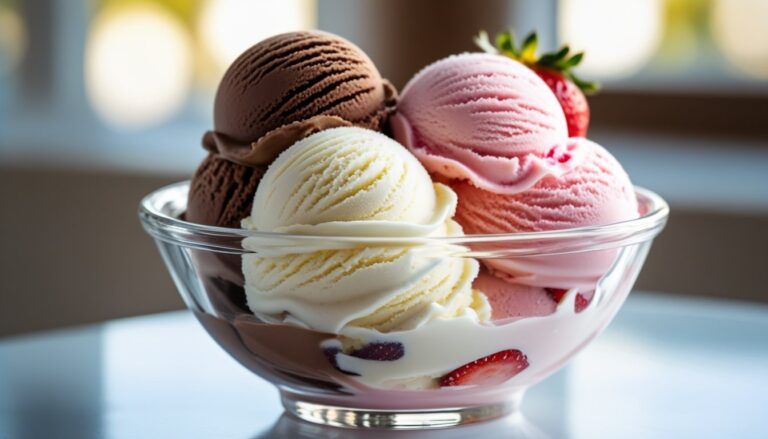
- Pair with a selection of fresh fruits like strawberries and blueberries.
- Offer a variety of dipping sauces, such as chocolate, caramel, or yogurt.
- Include fun toppings like sprinkles, crushed nuts, or coconut flakes.
- Set up a DIY cake pop decorating station for guests to personalize their treats.
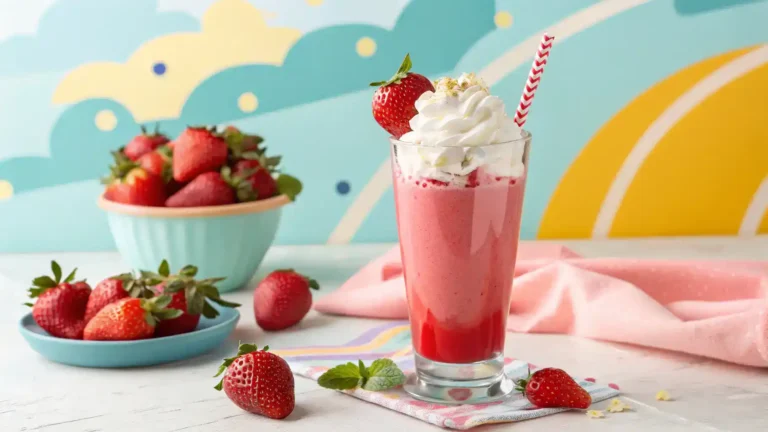
- Serve alongside a refreshing fruit punch or lemonade for a delightful drink pairing.
- Use decorative sticks or straws for an extra pop of color and fun.
- For a themed party, match the cake and pops to your color scheme or occasion.
- Include mini cupcakes as an additional sweet treat option.
- Wrap cake pops in clear bags tied with ribbons for a cute take-home favor.
Make Ahead and Storage
Storing leftovers properly ensures you can enjoy your cake and pops later without losing their delightful taste.
Storing Leftovers
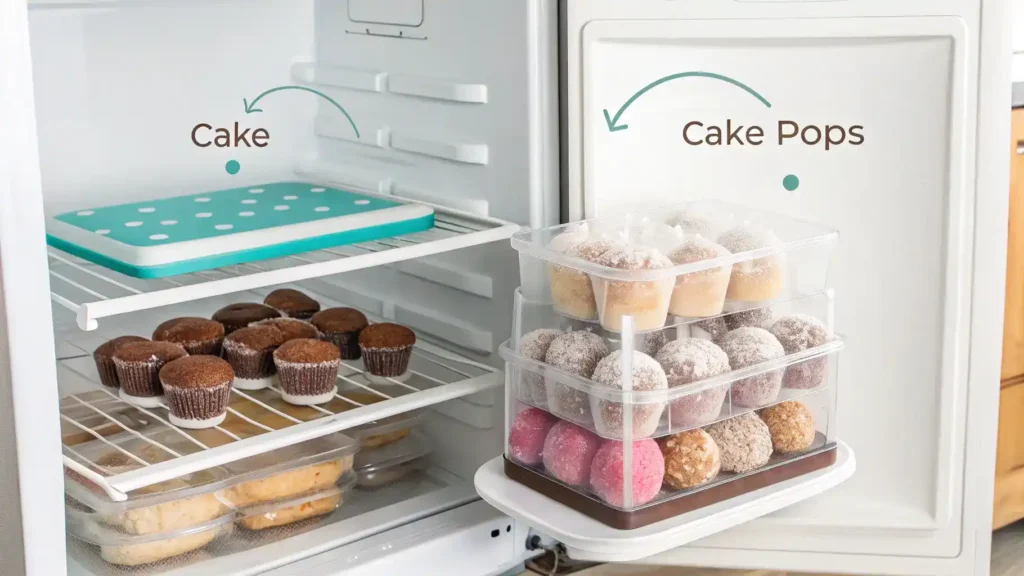
- Allow cake and pops to cool completely before storing.
- Place them in an airtight container.
- Separate layers with parchment paper to prevent sticking.
- Store in the refrigerator for up to 3 days.
Freezing
- Wrap each cake pop individually in plastic wrap.
- Place wrapped pops in a freezer-safe bag or container.
- Label with the date for easy tracking.
- Freeze for up to 2 months for best quality.
Reheating
- Thaw cake pops in the refrigerator overnight.
- For a warm treat, microwave for 10-15 seconds.
- Check texture; avoid overheating to maintain moisture.
- Enjoy at room temperature for the best flavor.
FAQs
What are cake pops made of?
Cake pops are typically made from crumbled cake mixed with frosting, shaped into balls, and coated with chocolate or candy melts. You can use any cake flavor you love, and for frosting, cream cheese or buttercream works wonderfully!
How do I prevent cake pops from falling off the stick?
To keep your cake pops secure, ensure the cake mixture is well-formed and not too moist. Dip the stick in melted chocolate before inserting it into the cake ball; this helps it adhere better. Chill the pops before coating for added stability!
Can I use gluten-free cake for cake pops?
Absolutely! You can use any gluten-free cake mix or recipe to make delicious cake pops. Just ensure your frosting is also gluten-free to keep everything safe for those with gluten sensitivities.
How long can I store cake pops?
Cake pops can be stored in an airtight container at room temperature for up to a week. If you want to keep them longer, refrigerate them for up to two weeks, but let them come to room temperature before serving for the best taste!
Final Thoughts
So there you have it—cake and pops are not just treats; they’re little bundles of joy that bring smiles to every gathering! Whether you’re celebrating a birthday or just indulging in a sweet moment, these delightful bites are super simple to make and oh-so-rewarding. Grab your ingredients, unleash your creativity, and enjoy every delicious bite. Happy baking, friend!
Hungry for more delicious creations? Browse our site for more recipes and endless inspiration to spark your next culinary adventure!