Ninja Creami Recipes: Epic Treats for Delightful Desserts!
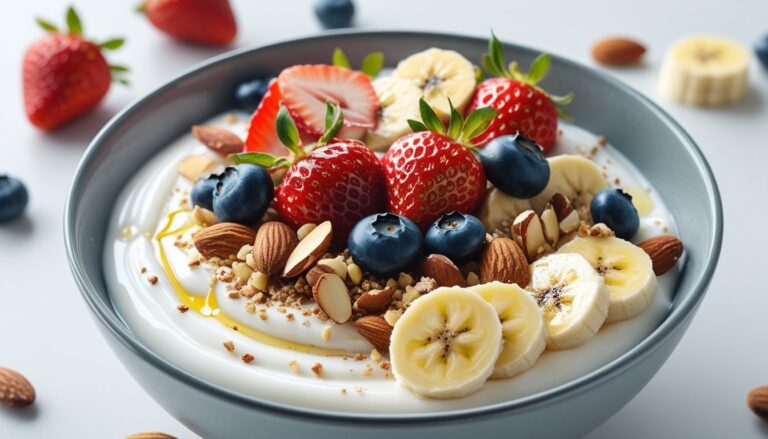
Get ready to indulge in the creamiest, dreamiest desserts with your Ninja Creami! How about a luscious strawberry banana sorbet that’s bursting with fresh flavors? Just blend ripe bananas and juicy strawberries with a splash of coconut milk, freeze, and let the Ninja work its magic. The result? A velvety treat that’s not only refreshing but also guilt-free! Perfect for warm days or whenever you need a sweet pick-me-up. Trust me, once you try this, you’ll be hooked on creating your own delightful frozen masterpieces!
Why You’ll Love This Recipe
- Trust me, you’re going to love this creamy texture!
- This one’s a game-changer for quick dessert fixes.
- Endless flavor combinations to satisfy every craving.
- Perfect for impressing guests or treating yourself.
- Healthy alternatives that don’t skimp on taste!
Recipe Snapshot
| Feature | Details |
|---|---|
| Category: | Dessert |
| Cuisine: | American |
| Prep Time: | 15 minutes |
| Cook Time: | 0 minutes |
| Total Time: | 15 minutes + freezing |
| Dietary: | Gluten-free, Dairy-free options |
| Serves: | 4 |
| Best Served: | Chilled |
Ingredients
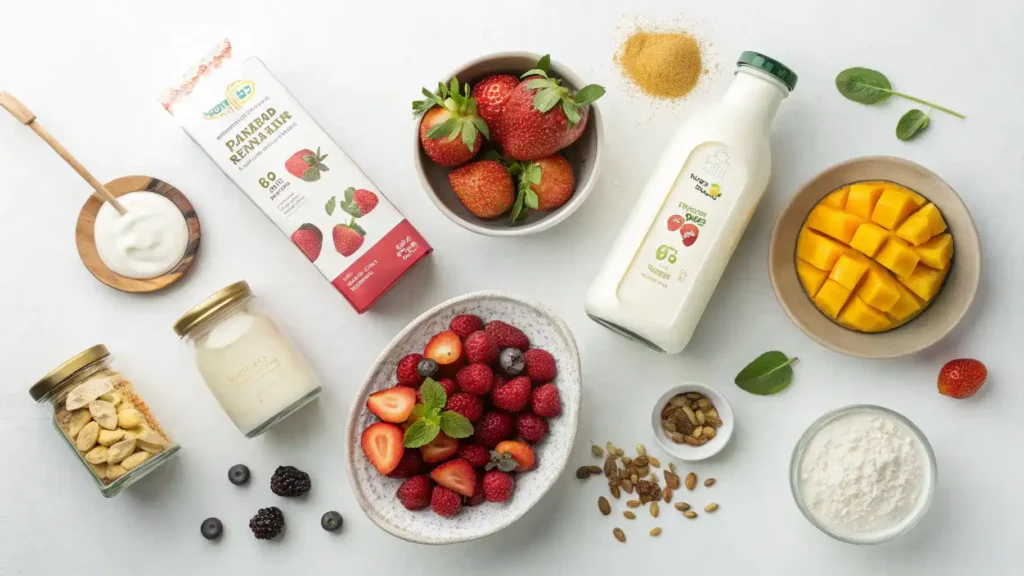
- Heavy Cream – adds richness and creaminess to your desserts.
- Whole Milk – balances the texture for a smooth finish.
- Granulated Sugar – sweetens your treats perfectly.
- Vanilla Extract – enhances flavor and aroma.
- Fruit Puree – adds natural sweetness and vibrant color.
- Cocoa Powder – brings a rich chocolate flavor to your recipes.
- Nut Butter – adds creaminess and a nutty taste.
- Yogurt – provides a tangy flavor and creamy texture.
- Honey or Maple Syrup – natural sweeteners for a healthier option.
- Gelatin or Agar-Agar – helps to stabilize and thicken your mixtures.
Ingredients with measurements will be right under the article in the recipe card.
How to Make the Recipe
Get ready to whip up some delicious Ninja Creami treats! Follow these simple steps to create your own delightful desserts.
Step 1: Gather Your Ingredients
Collect all the ingredients you need. Think fruits, dairy, or dairy alternatives, and sweeteners. Make sure everything is fresh and ready to go!
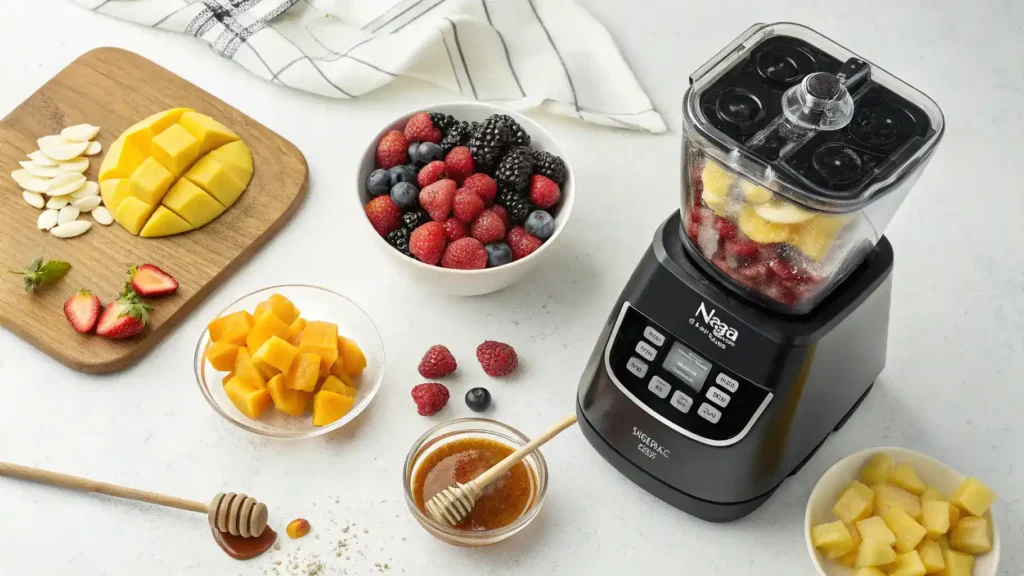
Step 2: Prepare Your Base
Blend your chosen ingredients until smooth. If you’re using fruits, chop them into smaller pieces for easier blending. Aim for a creamy consistency!
Step 3: Pour into the Container
Carefully pour your blended mixture into the Ninja Creami container. Fill it to the designated fill line for best results.
Step 4: Freeze the Mixture
Place the container in the freezer. Let it freeze for at least 24 hours. Patience is key for that perfect texture!
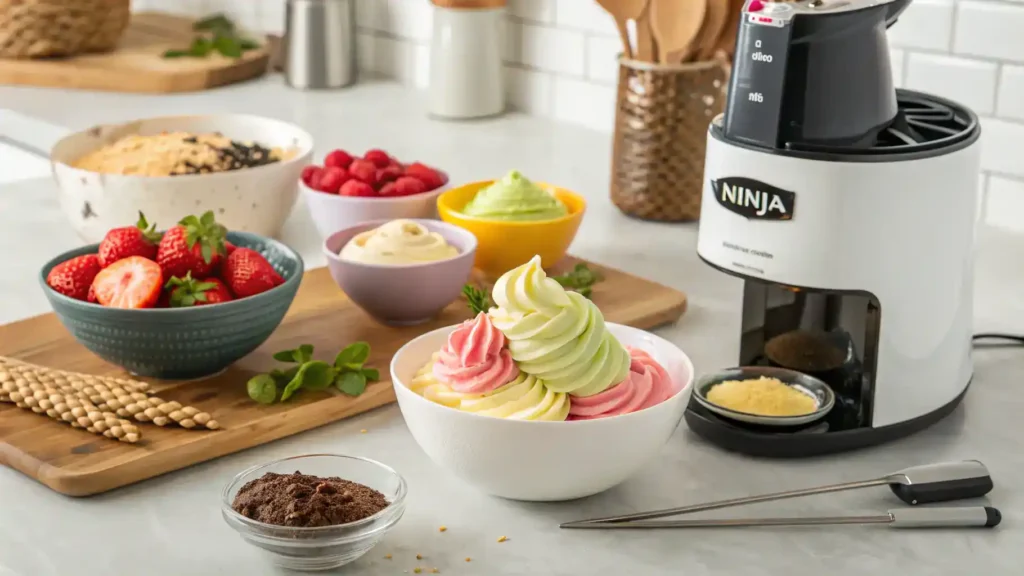
Step 5: Process in the Ninja Creami
Once frozen, remove the container from the freezer. Insert it into the Ninja Creami and select the appropriate setting. Watch the magic happen!
Step 6: Enjoy Your Creation
Once processed, scoop out your delightful dessert. Serve it in bowls or cones, and add your favorite toppings. Dig in and enjoy every bite!
Pro Tips for Making the Recipe
• Use frozen fruits for a creamier texture and vibrant flavor.
• Experiment with different sweeteners like honey or maple syrup for a unique twist.
• Let your mixture chill for a few hours before processing for the best results.
• Don’t be afraid to mix flavors; chocolate and peanut butter are a match made in heaven!
• Always clean your Ninja Creami thoroughly after each use to maintain its performance.
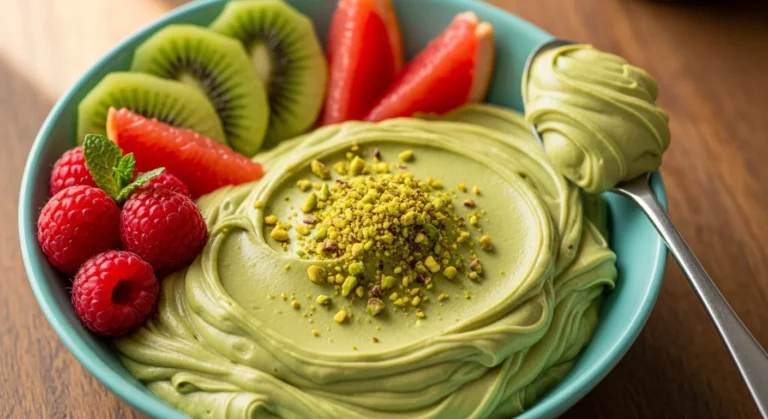
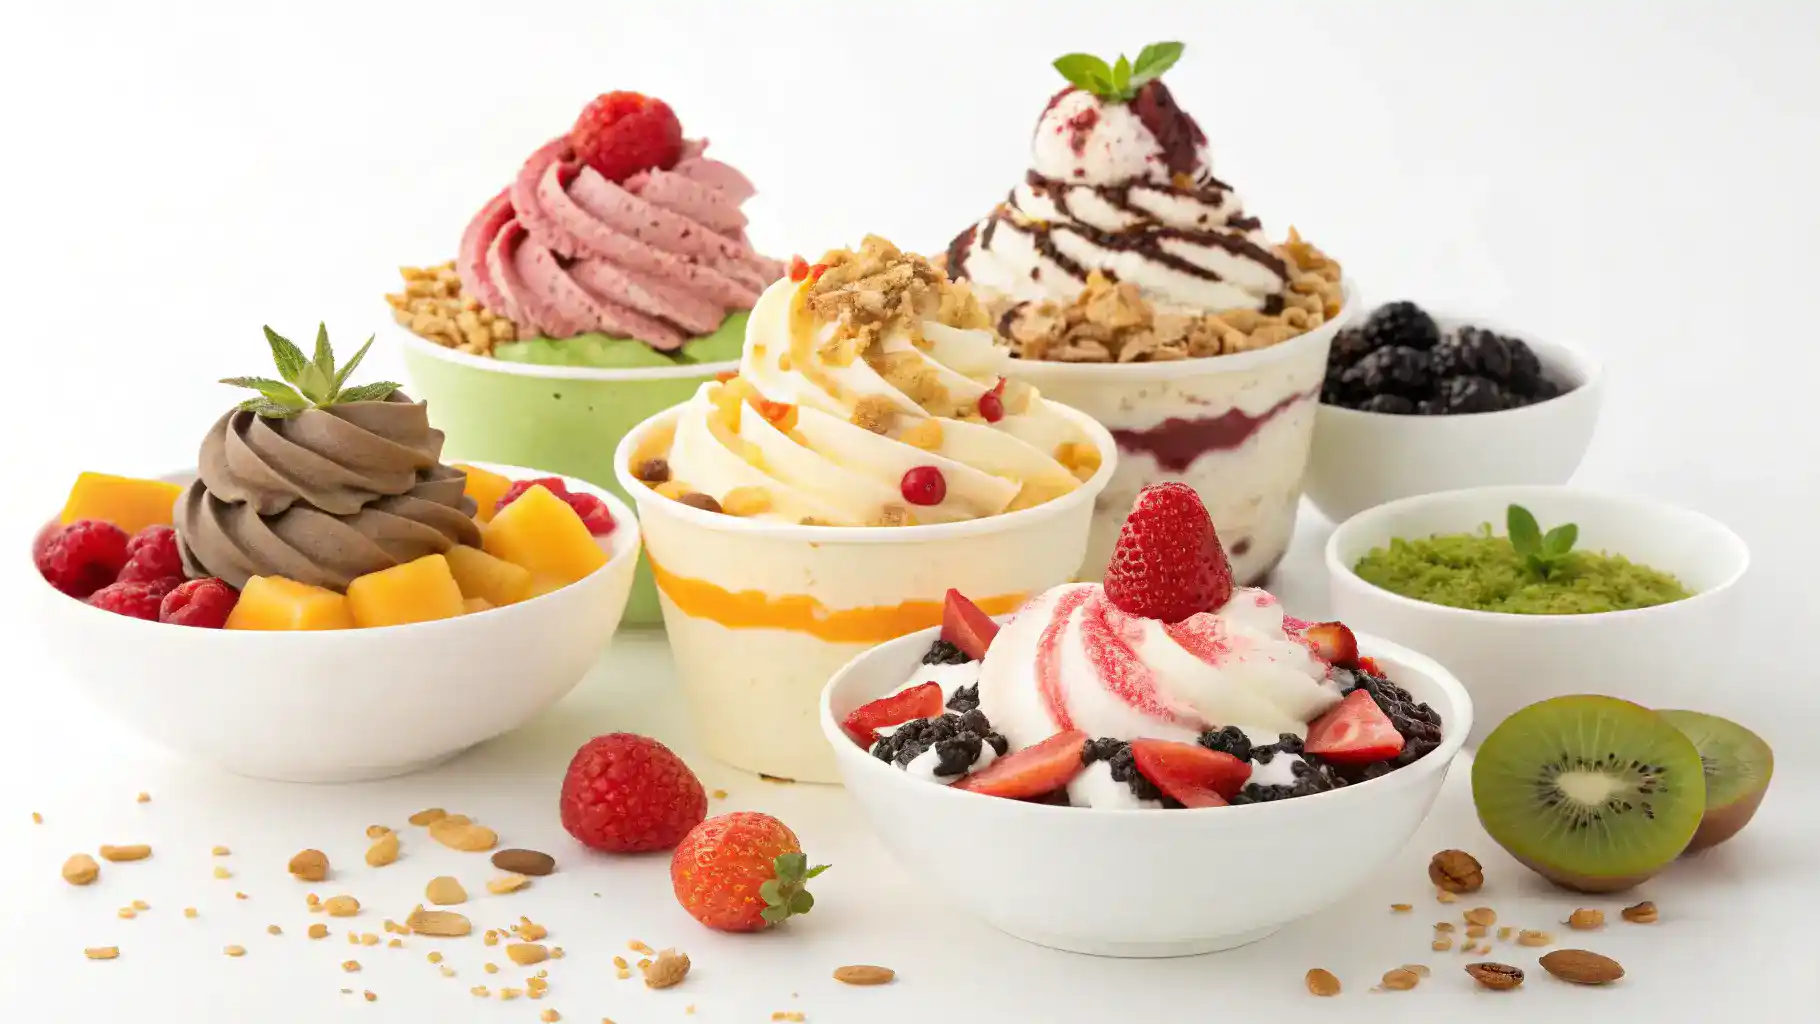
How to Serve

- Top with fresh berries for a burst of flavor.
- Drizzle with honey or maple syrup for added sweetness.
- Serve alongside a scoop of whipped coconut cream.
- Pair with a crunchy granola for texture.
- Garnish with mint leaves for a refreshing touch.
- Enjoy in a waffle cone for a fun twist.
- Mix in some chocolate chips for a decadent treat.
- Serve in a chilled glass for an elegant presentation.
Make Ahead and Storage
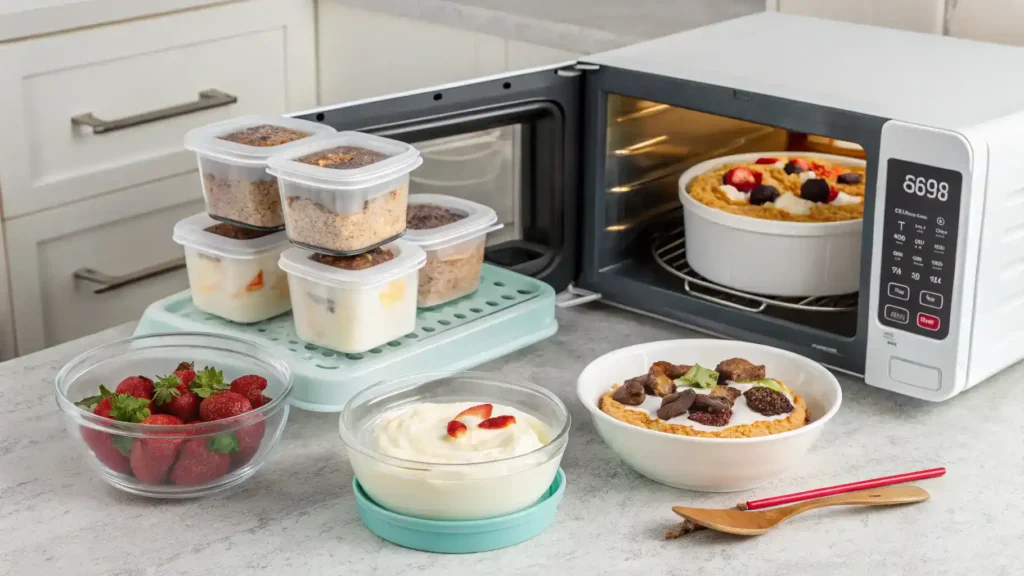
Storing leftovers properly ensures you can enjoy your Ninja Creami creations later!
Storing Leftovers
• Allow the dessert to cool completely before storing.
• Transfer to an airtight container for best results.
• Label the container with the date for easy tracking.
• Store in the refrigerator for up to 3 days.
Freezing
• Use a freezer-safe container to prevent freezer burn.
• Leave some space at the top of the container for expansion.
• Label with the date and type of dessert.
• Freeze for up to 2 months for optimal quality.
Reheating
• Thaw in the refrigerator overnight before reheating.
• Use a microwave on low power for even heating.
• Stir gently to maintain texture.
• Enjoy within 24 hours after reheating for the best taste.
FAQs
What is the best base for Ninja Creami recipes?
Using a creamy base like coconut milk, almond milk, or cashew cream works wonderfully. These alternatives provide a rich texture and flavor, making your desserts delightful.
Can I use fresh fruit in my Ninja Creami recipes?
Absolutely! Fresh fruit adds natural sweetness and vibrant flavors. Just make sure to blend them well for a smooth consistency.
How can I make my Ninja Creami desserts healthier?
Consider using natural sweeteners like honey or maple syrup instead of refined sugars. You can also incorporate Greek yogurt for added protein and creaminess.
What are some tips for achieving the perfect texture?
Start with chilled ingredients and blend thoroughly. If your mixture is too hard after freezing, let it sit for a few minutes before processing in the Ninja Creami for a smoother result

ninja creami recipes
Ingredients
Equipment
Method
- Collect all the ingredients you need. Think fruits, dairy, or dairy alternatives, and sweeteners. Make sure everything is fresh and ready to go!
- Blend your chosen ingredients until smooth. If you’re using fruits, chop them into smaller pieces for easier blending. Aim for a creamy consistency!
- Carefully pour your blended mixture into the Ninja Creami container. Fill it to the designated fill line for best results.
- Place the container in the freezer. Let it freeze for at least 24 hours. Patience is key for that perfect texture!
- Once frozen, remove the container from the freezer. Insert it into the Ninja Creami and select the appropriate setting. Watch the magic happen!
- Once processed, scoop out your delightful dessert. Serve it in bowls or cones, and add your favorite toppings. Dig in and enjoy every bite!
Final Thoughts
As you dive into these Ninja Creami recipes, remember that each scoop is a little moment of joy! Whether it’s a creamy sorbet or a dreamy ice cream, the simplicity of these treats makes them all the more rewarding. So grab your Ninja Creami, unleash your creativity, and savor every delightful bite. Happy blending, and may your dessert adventures be as sweet as your memories!
Hungry for more delicious creations? Browse our site for more recipes and endless inspiration to spark your next culinary adventure!