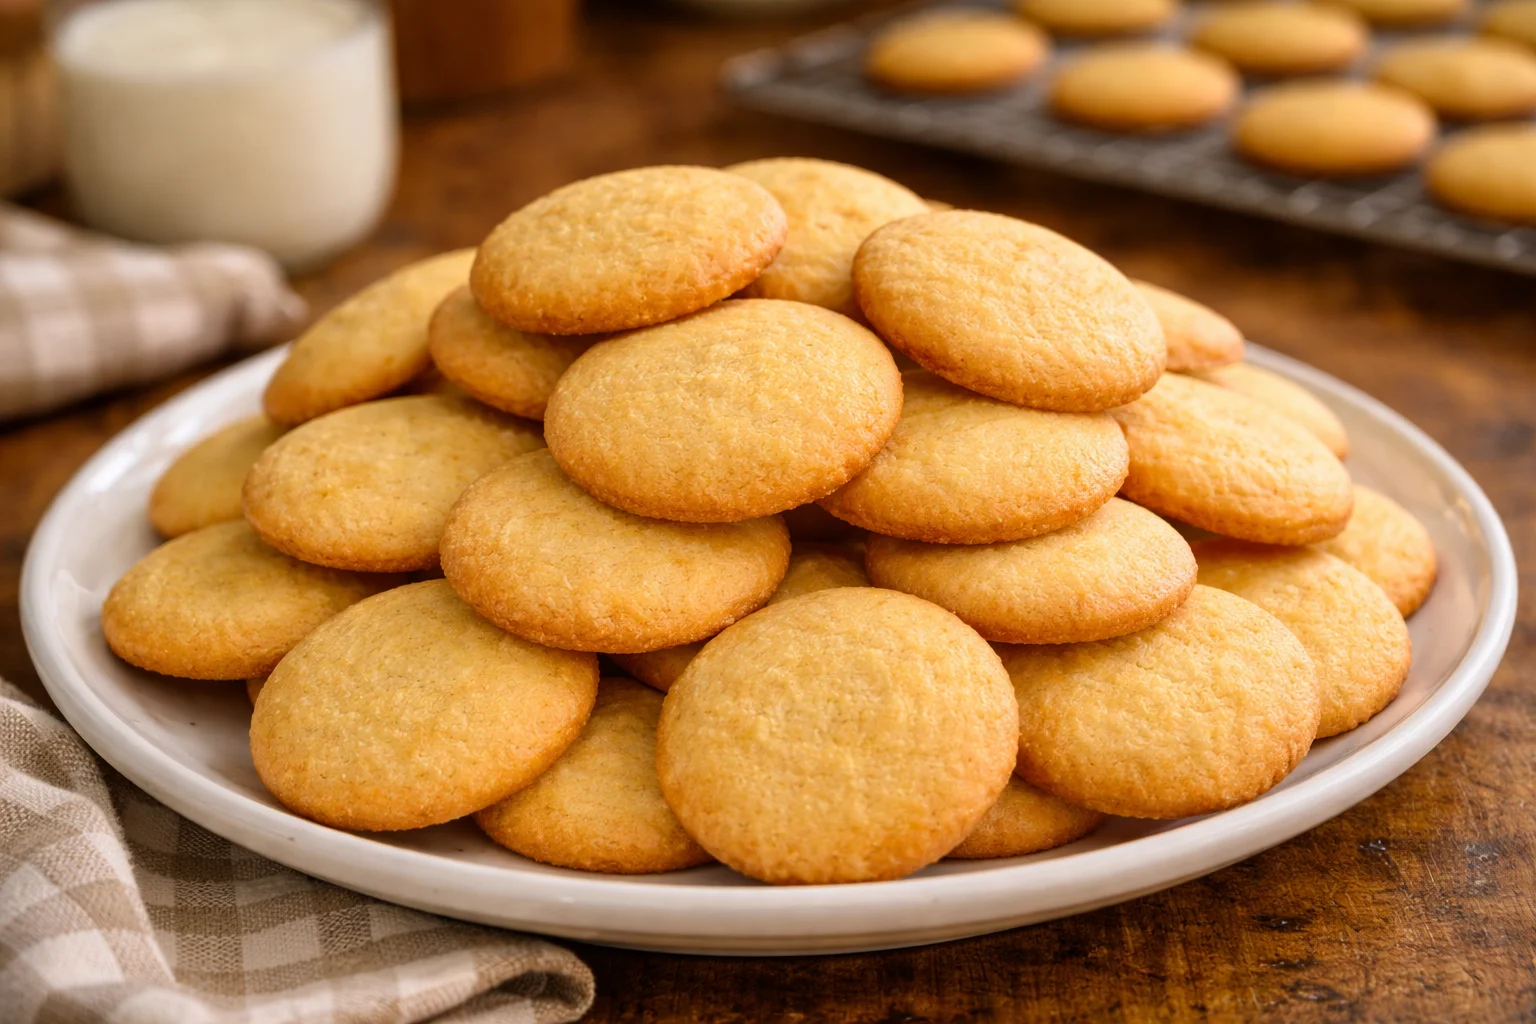
Vanilla Wafers: Discover Irresistible Recipes Today
Vanilla Wafers: Discover Irresistible Recipes Today
Vanilla wafers are the delightful foundation for a scrumptious dessert that will have everyone asking for seconds! Picture layers of creamy vanilla pudding and fresh, juicy strawberries, all nestled between those perfectly crisp wafers. Each bite is a heavenly combination of textures and flavors, with a hint of sweetness that dances on your palate. Top it off with a dollop of whipped cream and a sprinkle of crushed nuts for that extra crunch. This easy-to-make treat is perfect for any occasion, bringing smiles and warmth to your table!
Table of Contents
Why You’ll Love This Recipe
- Irresistibly crunchy and sweet, perfect for snacking!
- Simple ingredients you probably already have at home.
- Versatile for desserts, from banana pudding to ice cream toppings.
- Quick to make, satisfying your cravings in no time!
- Great for sharing or enjoying all by yourself!

vanilla wafers
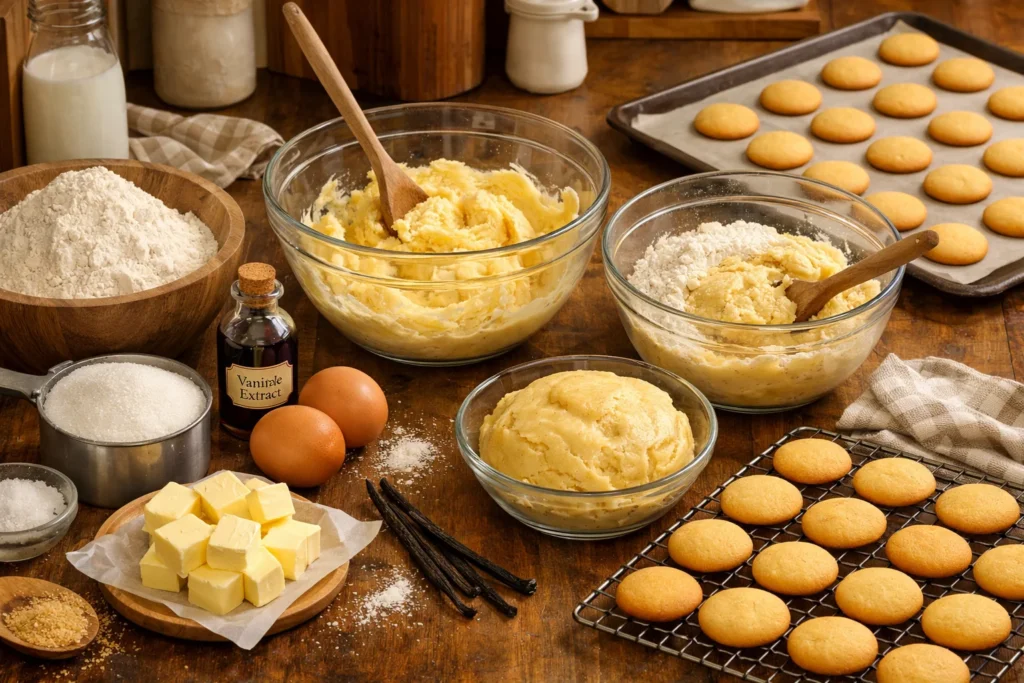
Ingredients
Equipment
Method
- Collect all the ingredients needed for the recipe.
- Preheat your oven to 350°F (175°C).
- Cream together the softened butter and sugar until light and fluffy.
- Beat in the egg and vanilla extract until well combined.
- In a separate bowl, whisk together the flour and salt.
- Gradually add the dry ingredients to the wet mixture, stirring until just combined.
- Drop small mounds of batter onto a baking sheet lined with parchment paper.
- Bake for 10-12 minutes, or until the edges are lightly golden.
- Let the wafers cool on a wire rack before enjoying.
Recipe Snapshot
| Feature | Details |
|---|---|
| Category: | Dessert |
| Cuisine: | American |
| Prep Time: | 15 minutes |
| Cook Time: | 10 minutes |
| Total Time: | 25 minutes |
| Dietary: | Vegetarian |
| Serves: | 4-6 |
| Best Served: | Chilled or at room temperature |
Ingredients
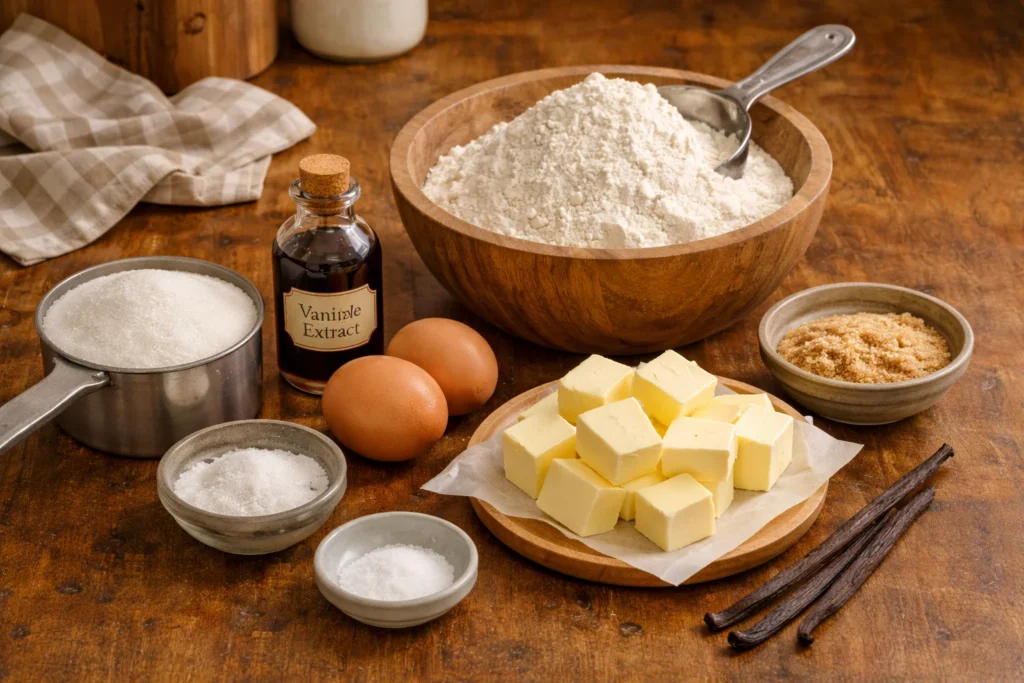
- All-purpose flour – a key ingredient for structure and texture.
- Sugar – adds sweetness and enhances flavor.
- Baking powder – helps the wafers rise and become light.
- Salt – balances sweetness and enhances overall flavor.
- Unsalted butter – provides richness and a tender crumb.
- Vanilla extract – infuses a delightful vanilla flavor.
- Eggs – bind ingredients together and add moisture.
- Milk – helps achieve the perfect batter consistency.
Ingredients with measurements will be right under the article in the recipe card.
How to Make the Recipe
Get ready to whip up some delightful vanilla wafers with these easy steps!
Step 1: Gather Your Ingredients
Collect 1 cup of all-purpose flour, 1/2 cup of sugar, 1/2 cup of unsalted butter (softened), 1 large egg, 1 teaspoon of vanilla extract, and a pinch of salt.
Step 2: Preheat the Oven
Preheat your oven to 350°F (175°C) to get it nice and toasty for baking.
Step 3: Mix the Butter and Sugar
In a mixing bowl, cream together the softened butter and sugar until it’s light and fluffy.
Step 4: Add the Egg and Vanilla
Beat in the egg and vanilla extract until well combined, making your mixture smooth and fragrant.
Step 5: Combine Dry Ingredients
In a separate bowl, whisk together the flour and salt to ensure even distribution.
Step 6: Mix Dry and Wet Ingredients
Gradually add the dry ingredients to the wet mixture, stirring until just combined.
Step 7: Scoop the Batter
Using a spoon or cookie scoop, drop small mounds of batter onto a baking sheet lined with parchment paper.
Step 8: Bake the Wafers
Place the baking sheet in the oven and bake for 10-12 minutes, or until the edges are lightly golden.
Step 9: Cool and Enjoy
Remove the wafers from the oven and let them cool on a wire rack before indulging in your sweet creations!
Pro Tips for Making the Recipe
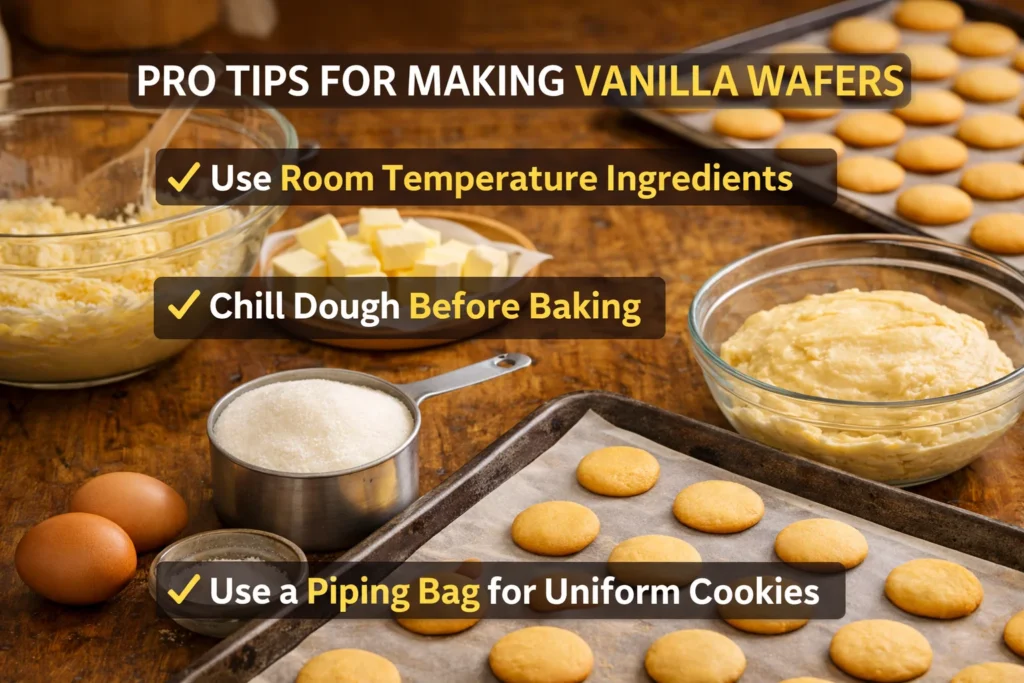
• Use room temperature ingredients for a smoother batter.
• Sift your dry ingredients to avoid lumps and ensure even mixing.
• Experiment with flavored extracts like almond or coconut for a twist.
• Let the wafers cool completely before stacking to prevent sticking.
• Store in an airtight container to keep them fresh and crunchy.
How to Serve
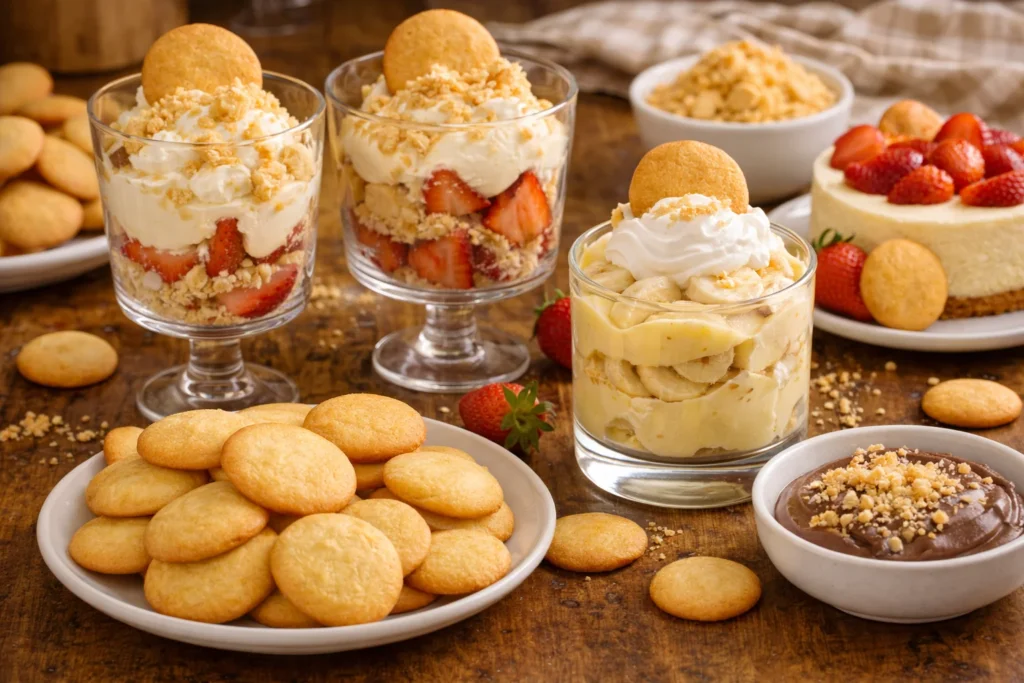
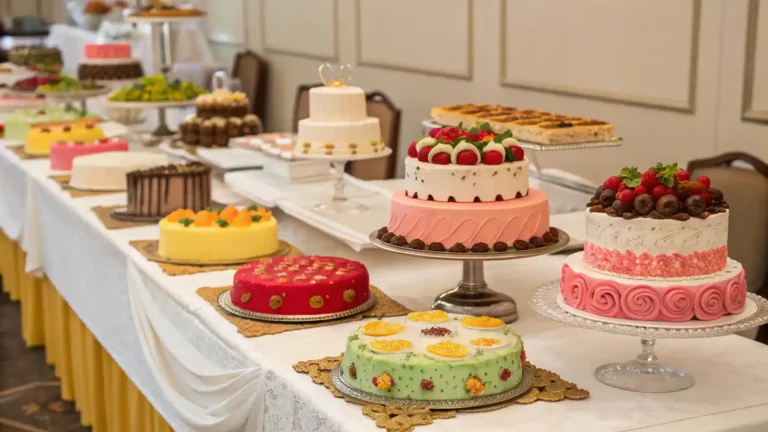
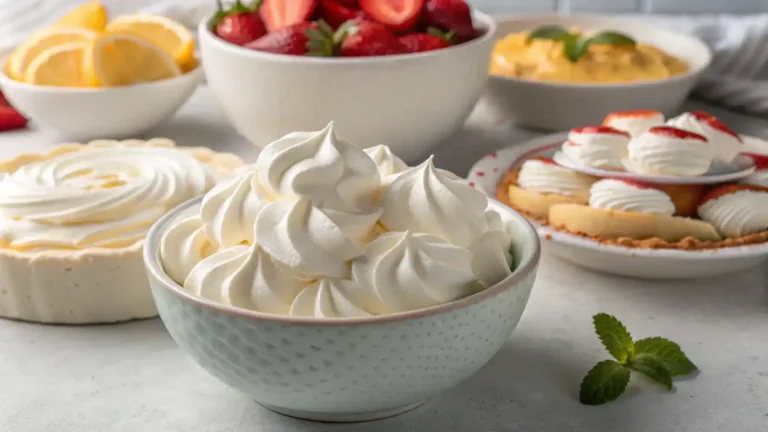
- Layer vanilla wafers with fresh whipped cream and berries for a delightful parfait.
- Crush vanilla wafers and sprinkle them over ice cream for a crunchy topping.
- Dip vanilla wafers in melted chocolate for a sweet treat.
- Use vanilla wafers as a base for mini cheesecakes topped with fruit.
- Make a banana pudding by layering vanilla wafers, sliced bananas, and pudding.
- Serve with a side of yogurt and honey for a healthy snack.
- Pair with a glass of cold milk or almond milk for a classic combo.
- Use as a crust for pies or tarts for added flavor and texture.
Make Ahead and Storage
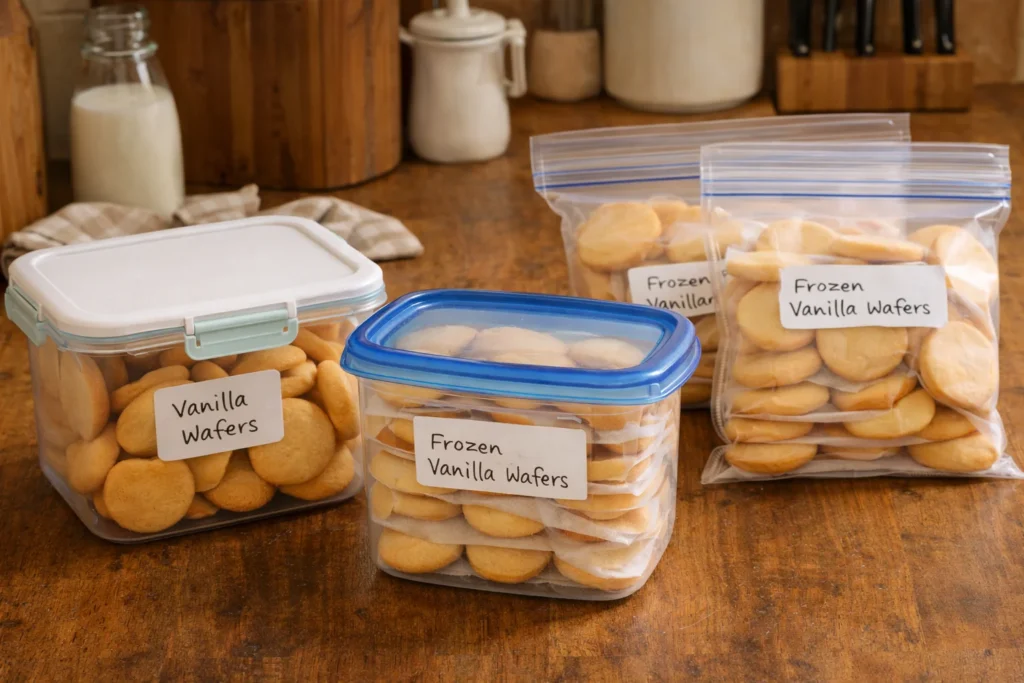
Storing Leftovers
To keep your vanilla wafers fresh:
- Allow them to cool completely.
- Place in an airtight container.
- Store at room temperature for up to a week.
- For longer freshness, refrigerate.
Freezing
To freeze your vanilla wafers:
- Wrap each wafer in plastic wrap.
- Place wrapped wafers in a freezer-safe bag.
- Label with the date and type.
- Freeze for up to three months.
Reheating
For the best texture when reheating:
- Preheat your oven to 350°F (175°C).
- Place wafers on a baking sheet.
- Heat for about 5-7 minutes.
- Enjoy warm for optimal taste!
FAQs
What are vanilla wafers made of?
Vanilla wafers are typically made from simple ingredients like flour, sugar, butter, eggs, and vanilla extract. These ingredients come together to create a light, crispy cookie that’s perfect for snacking or using in desserts.
Can I make vanilla wafers gluten-free?
Absolutely! You can substitute regular flour with a gluten-free flour blend. Just ensure that the blend contains xanthan gum for the best texture. Your gluten-free vanilla wafers will still be delicious!
How do I store homemade vanilla wafers?
To keep your vanilla wafers fresh, store them in an airtight container at room temperature. They can last for about a week. For longer storage, consider freezing them in a sealed bag!
Can I add flavors or mix-ins to my vanilla wafers?
Definitely! Feel free to experiment by adding chocolate chips, nuts, or even spices like cinnamon. These additions can elevate your vanilla wafers and make them uniquely yours!
Final Thoughts
There you have it—vanilla wafers that are not just a treat but a delightful trip down memory lane! Whip up this simple recipe, and let the sweet aroma fill your kitchen. Whether you enjoy them solo or share with loved ones, these crispy delights are sure to bring smiles. So grab your ingredients and dive into this rewarding baking adventure. Happy munching!
Hungry for more delicious creations? Browse our site for more recipes and endless inspiration to spark your next culinary adventure!